some protection to the underside
some protection to the underside
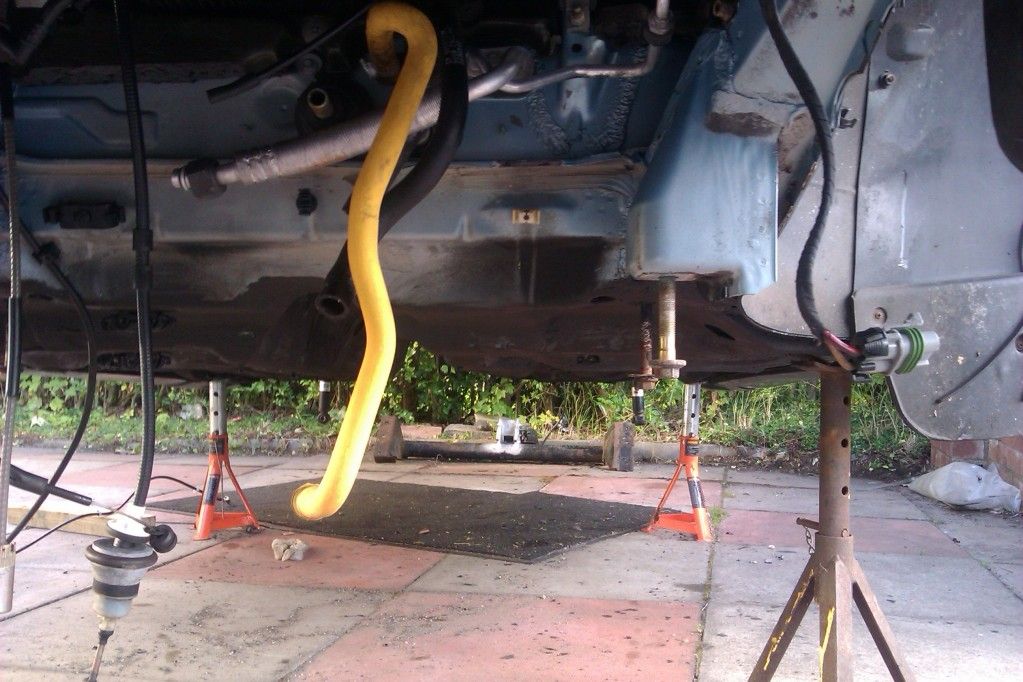
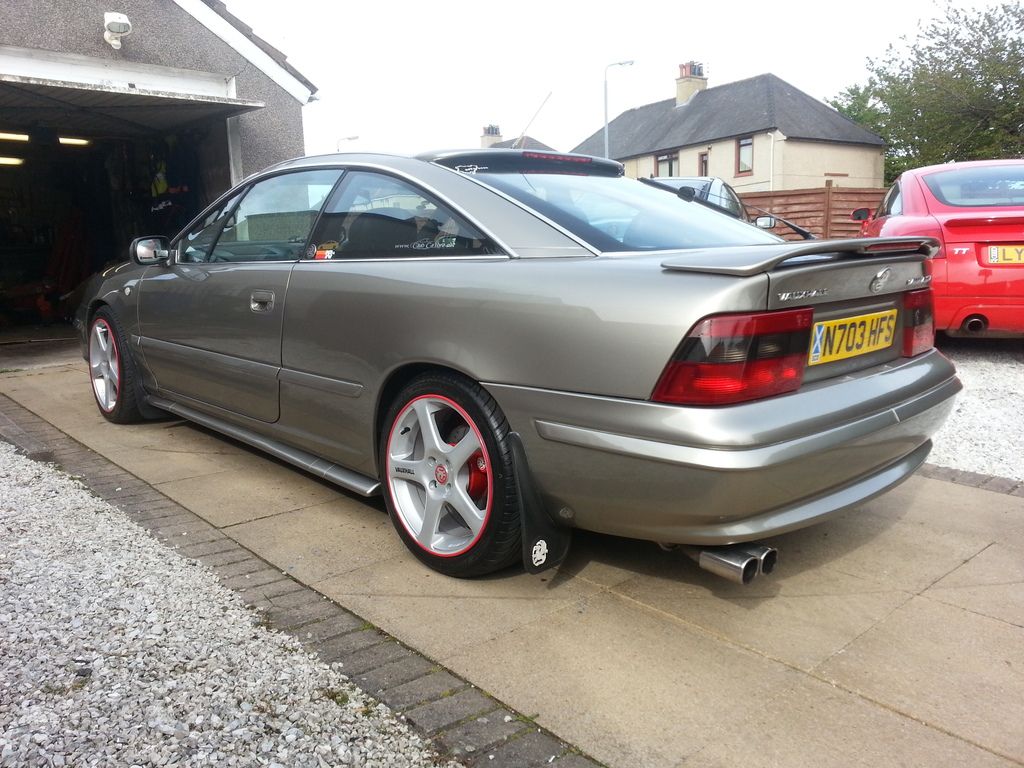
Well since I sold the other SE6 and the engine was out along with the back sub frame of the other one. I thought may as well give it a wee clean up underneath before putting it all back together again
So I got started and in with the brush and some Auto smart G101, then I noticed a few small rust spots, so decided to get them treated and while I was at it go over the whole underside with some protection …Pictures are an after thought but I am sure you get the idea
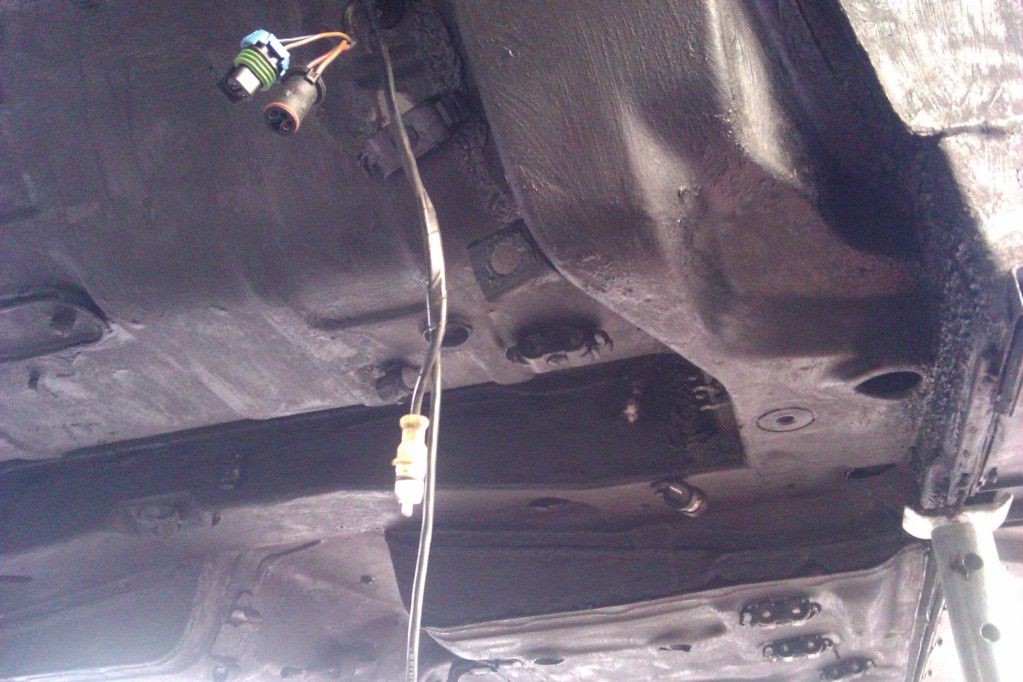
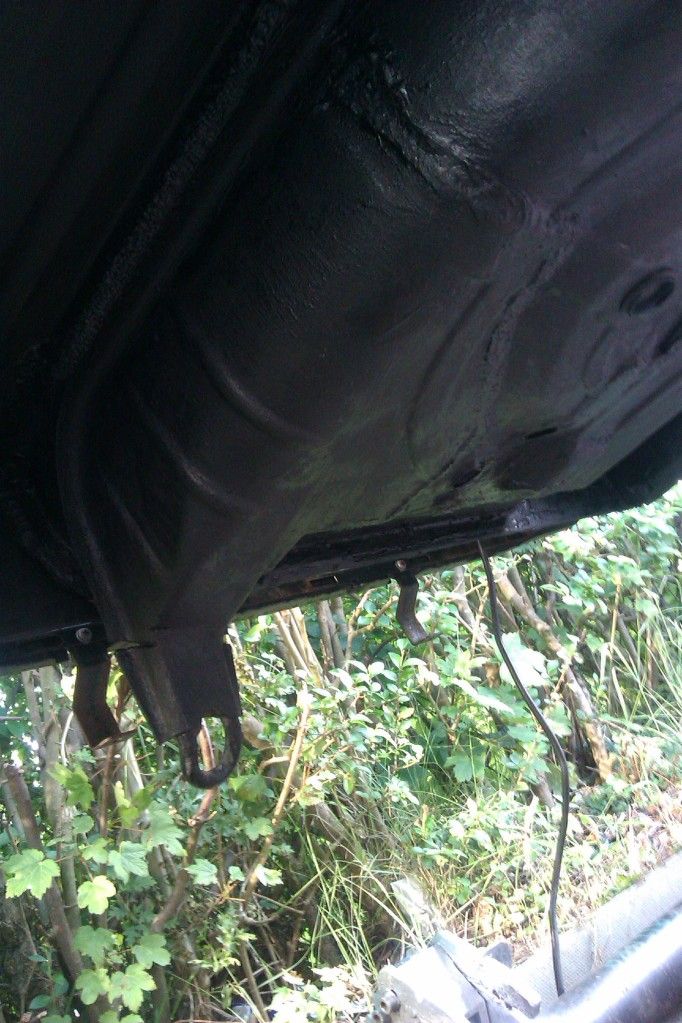
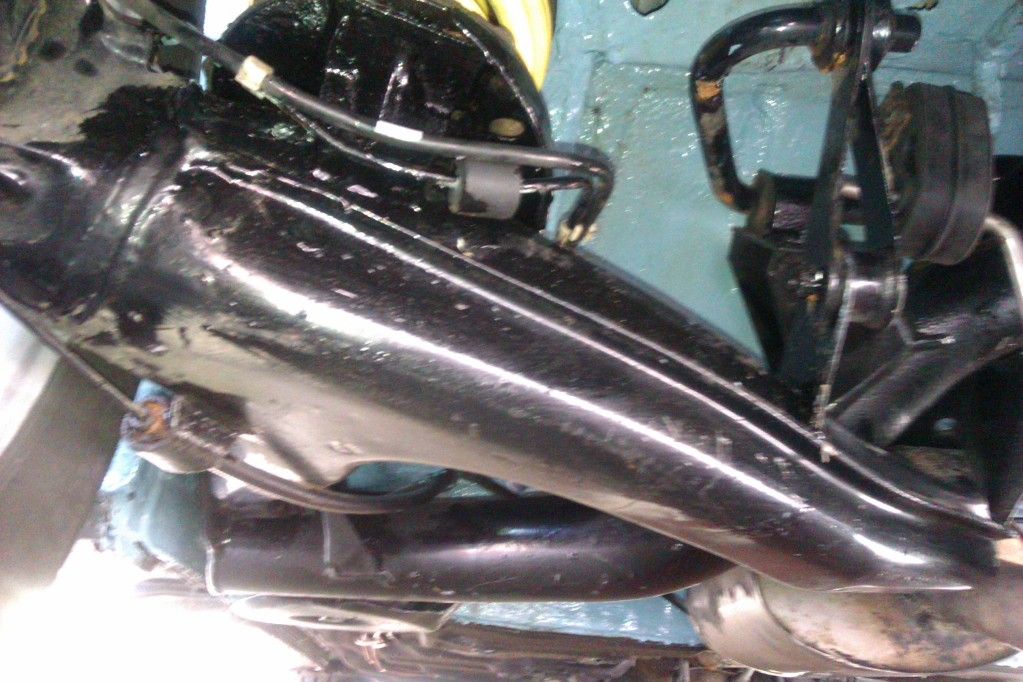
So first remove all the fuel/brake pipes and they did need to be replaced as they both had started to corroded. So with them out the way I started with the wire brush on the drill and got the rust spots cleaned up. I then applied some of that rust beater stuff. After that I got some underseal mixed it with some new engine oil and coated the full underside. It was then allowed to dry for 24 hours and then another coat and allowed to dry overnight, while that was drying I also got the two plastic trims that fit at the bottom of the rear wheel arch off..they are now binned as they are just dirt traps. Te two holes are now blanked off with 2 rubber grommets
With that done and the tank off, I got the fuel sender/pump housing off, though not that bad I cleaned that up and three coats of hammer rite and then some underseal on top of that once it was back in place, so hopefully that should be well protected for a few years or so
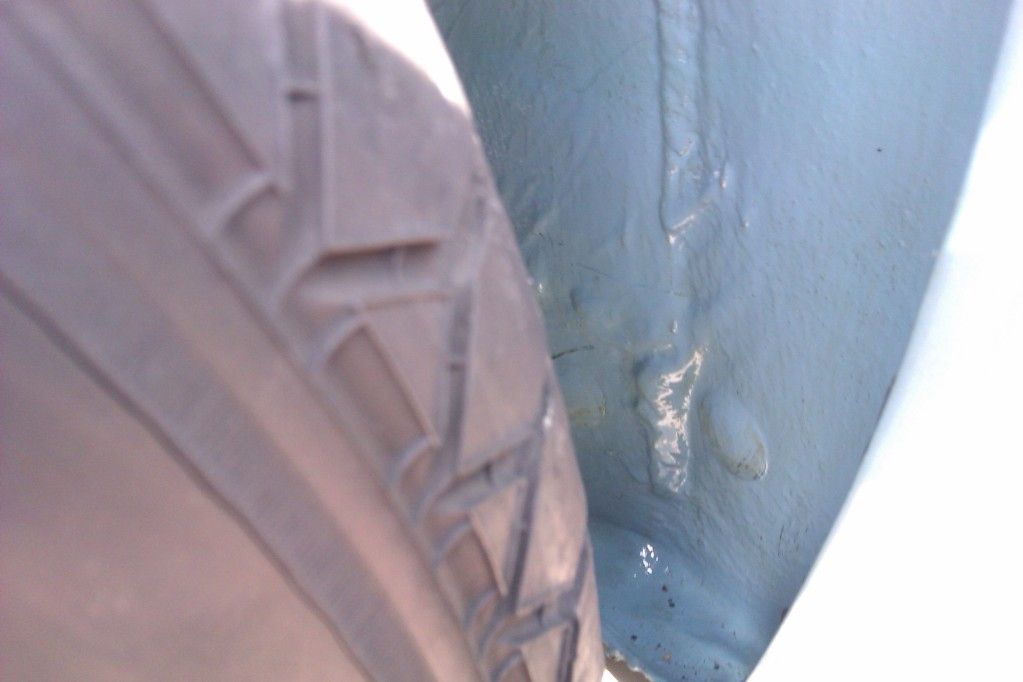
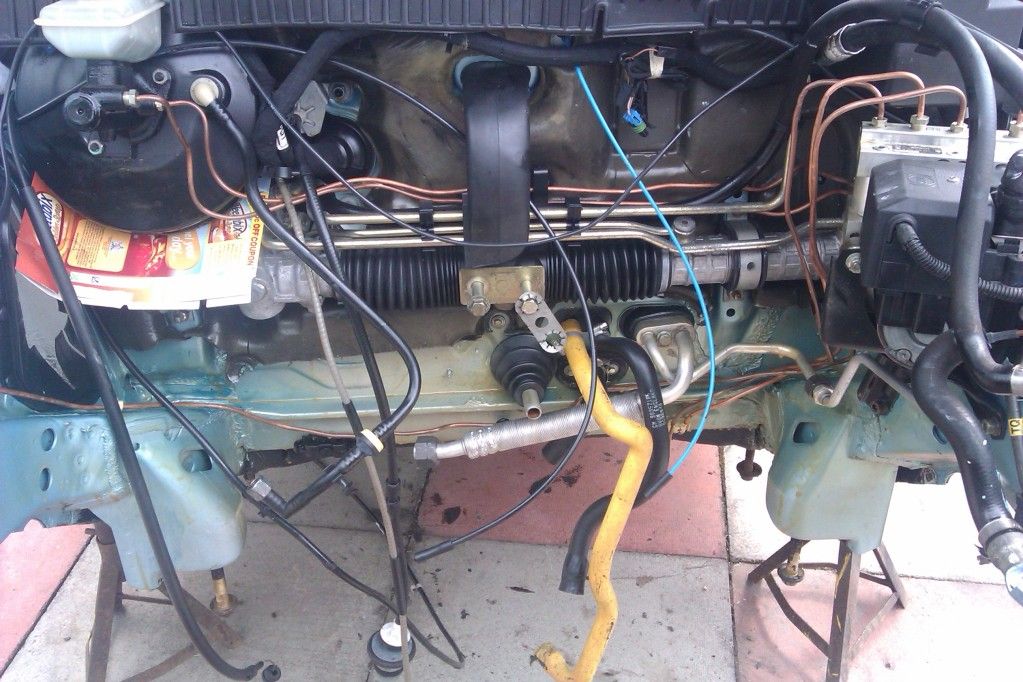
New fuel lines and brake pipes got fitted fuel lines are easy, brake pipes are a pain as they never go the same as the original, anyway got them fitted as best as I could. It was then Ray came through with some paint, so though not a perfect match it did look close, so away underneath again with a paint brush and got covered in it as well as the underside of the car, never had enough to do the full car but the arches look ok, only problem I was not taking all the fuel/brake lines off again, so tried to get around them, gave up and just painted the brake lines as well
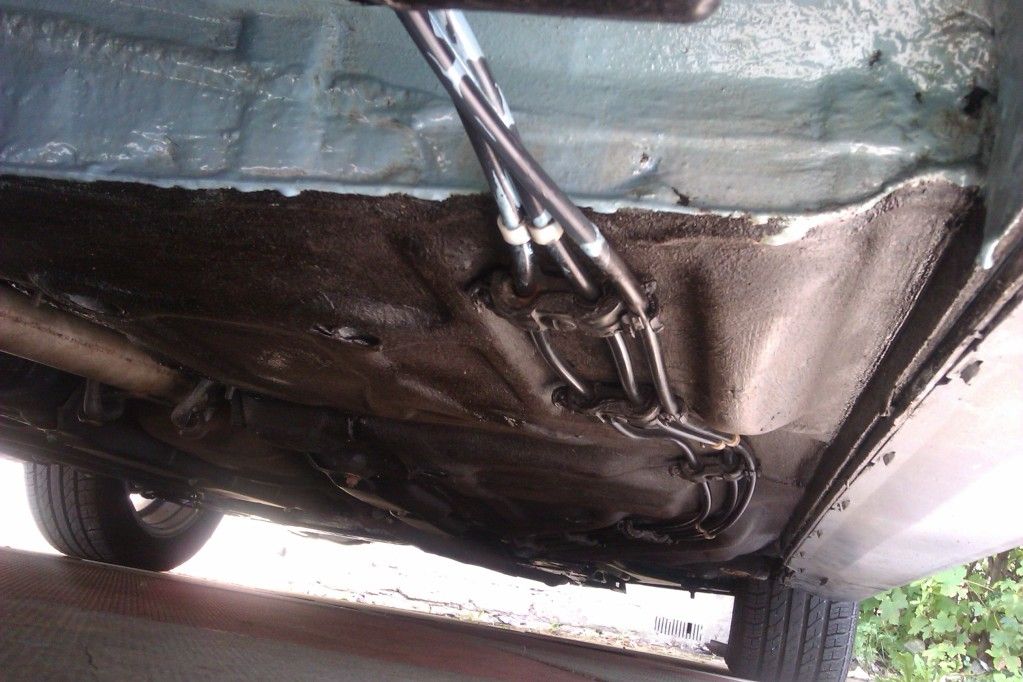
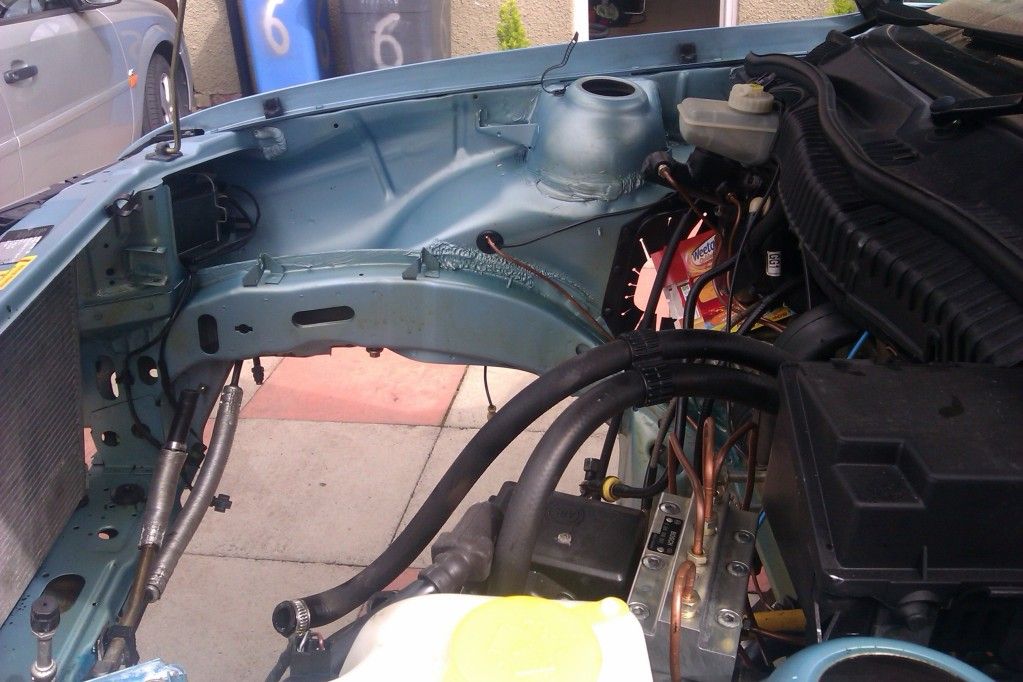
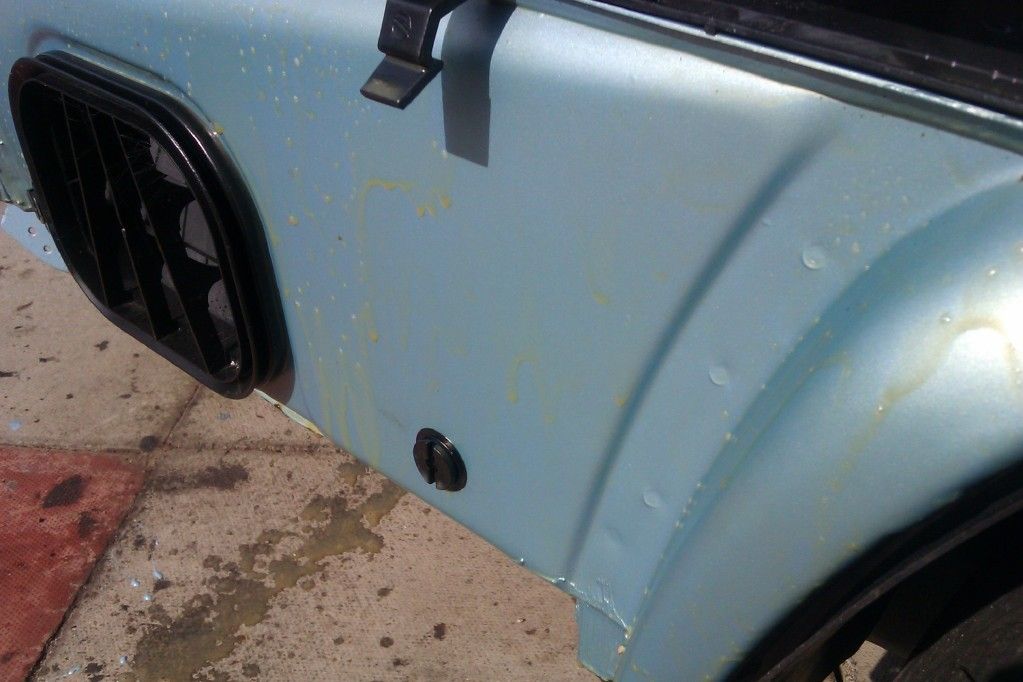
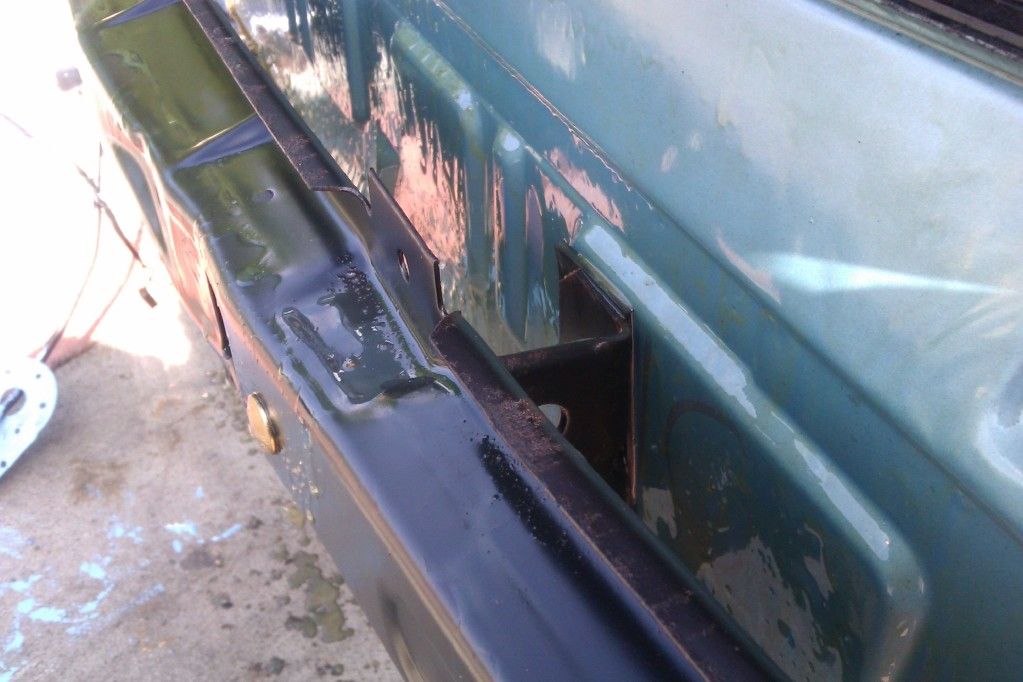
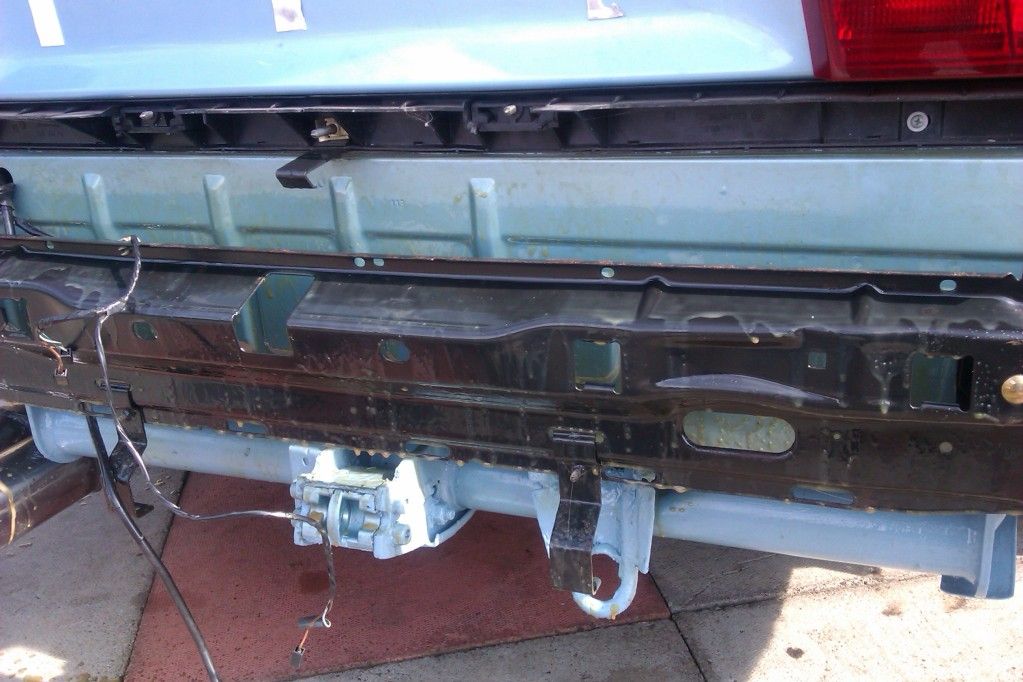
Towbar and some other bits also got done, with that done I did the front but after taking the foam sound deading off along the bottom (water dirt trap) and after running the brake pipes around the engine bay. I used some Bilt Hamber Dynax-UC on the inner wings and the engine bay itself, good thing about that is the UC part is under body CLEAR so if applied lightly its I just that …clear, I however used quite a bit on the back bulkhead and so it’s a wee bit yellowish there. Wheel arches also got done as well as under the inner arch guards and all around the front panels.
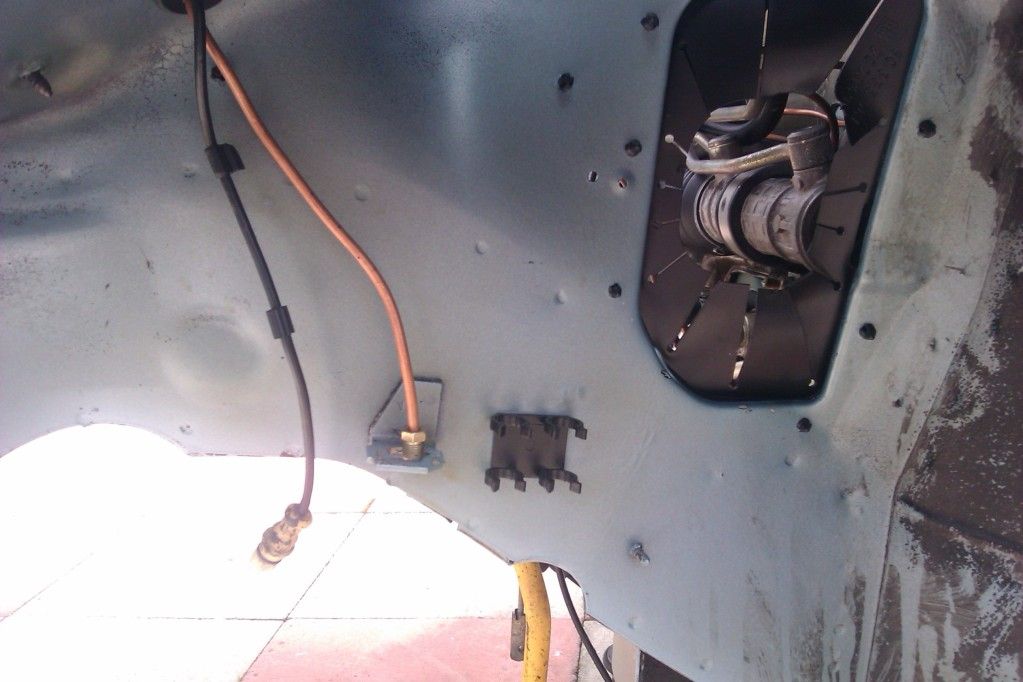
Engine back in as well as the rear sub frame and did the parts that are not seen behind the rear bumper with the UC and a good coating of it as well

Now its getting it all cleaned and some wax on it for the winter months
So I got started and in with the brush and some Auto smart G101, then I noticed a few small rust spots, so decided to get them treated and while I was at it go over the whole underside with some protection …Pictures are an after thought but I am sure you get the idea
So first remove all the fuel/brake pipes and they did need to be replaced as they both had started to corroded. So with them out the way I started with the wire brush on the drill and got the rust spots cleaned up. I then applied some of that rust beater stuff. After that I got some underseal mixed it with some new engine oil and coated the full underside. It was then allowed to dry for 24 hours and then another coat and allowed to dry overnight, while that was drying I also got the two plastic trims that fit at the bottom of the rear wheel arch off..they are now binned as they are just dirt traps. Te two holes are now blanked off with 2 rubber grommets
With that done and the tank off, I got the fuel sender/pump housing off, though not that bad I cleaned that up and three coats of hammer rite and then some underseal on top of that once it was back in place, so hopefully that should be well protected for a few years or so
New fuel lines and brake pipes got fitted fuel lines are easy, brake pipes are a pain as they never go the same as the original, anyway got them fitted as best as I could. It was then Ray came through with some paint, so though not a perfect match it did look close, so away underneath again with a paint brush and got covered in it as well as the underside of the car, never had enough to do the full car but the arches look ok, only problem I was not taking all the fuel/brake lines off again, so tried to get around them, gave up and just painted the brake lines as well
Towbar and some other bits also got done, with that done I did the front but after taking the foam sound deading off along the bottom (water dirt trap) and after running the brake pipes around the engine bay. I used some Bilt Hamber Dynax-UC on the inner wings and the engine bay itself, good thing about that is the UC part is under body CLEAR so if applied lightly its I just that …clear, I however used quite a bit on the back bulkhead and so it’s a wee bit yellowish there. Wheel arches also got done as well as under the inner arch guards and all around the front panels.
Engine back in as well as the rear sub frame and did the parts that are not seen behind the rear bumper with the UC and a good coating of it as well
Now its getting it all cleaned and some wax on it for the winter months
-

- ClubCalibra.net

- Posts: 3621
- Joined: Sat Dec 06, 2003 1:00 pm
- Location: Rosyth Scotland
Re: some protection to the underside
Good job all round - are you ditching the foam on the bulkhead? Looks like a water trap to me?
-

- ClubCalibra.net

- Posts: 828
- Joined: Sat Nov 27, 2004 1:00 pm
- Location: Nottingham M1 J26
Re: some protection to the underside
Looking good mate, if theres any thing left to do when i get back ill come up and give you a hand if you want
steve
Chairman
The Drain
LE 4x4 turbo
SE2 4x4 turbo RIP
Chairman
The Drain
LE 4x4 turbo
SE2 4x4 turbo RIP
-

- ClubCalibra.net

- Posts: 7178
- Joined: Wed Jan 03, 2007 6:58 pm
- Location: lanarkshire
Re: some protection to the underside
Fraz wrote:I also got the two plastic trims that fit at the bottom of the rear wheel arch off..they are now binned as they are just dirt traps. Te two holes are now blanked off with 2 rubber grommets
What actually is the point of those trims??....you are right that they collect loads of dirt behind them and cause rust.
I presume they are some sort of aerodynamics, in the same way the rear undertray bit is?
-

- ClubCalibra.net
- Posts: 847
- Joined: Fri Mar 12, 2004 1:00 pm
- Location: South Cumbria
- ClubCalibra.net

- Posts: 1103
- Joined: Sun Oct 10, 2010 6:11 pm
- Location: Sydney - Australia
Re: some protection to the underside
Oil cooler sandwich plate on my type-R burst the other day, so I've got waaaay more underside protection than you right now Fraz 
-
- ClubCalibra.net
- Posts: 828
- Joined: Sat Nov 27, 2004 1:00 pm
- Location: Nottingham M1 J26
Re: some protection to the underside
Look good Fraz. I keep meaning to find time to do this as I've got a couple of rust spots on the underneath of mine.
Its big... Its BLUE... Its behind you
Magnetic blue SE8
Diamond black turbo 4x4
Magnetic blue SE8
Diamond black turbo 4x4
-

- ClubCalibra.net
- Posts: 631
- Joined: Sun Sep 13, 2009 2:04 pm
- Location: Peterborough
Re: some protection to the underside
Alot of good work going on there Fraz 
craig
Best Presented Billing 2011
Best Presented Billing 2011
-
- ClubCalibra.net
- Posts: 1675
- Joined: Sat Mar 13, 2004 4:27 pm
- Location: Glasgow
Re: some protection to the underside
Chavtastic wrote:Good job all round - are you ditching the foam on the bulkhead? Looks like a water trap to me?
Generally it is only the bottom 2 to 3 inches of the foam that turns into a water trap and that looks as if it has already been cut off!
Cavalier CDi 96 Grey
Cavalier SRi 93 Satin Red
Cavalier Mk2 CD130 86 White
Cavalier SRi 93 Satin Red
Cavalier Mk2 CD130 86 White
- ClubCalibra.net
- Posts: 312
- Joined: Sun Nov 29, 2009 10:58 pm
- Location: Milton Keynes
Re: some protection to the underside
looking good mate, when can i bring mine up for you to do
BETTER TO HAVE A CALIBRA AND NOT NEED ONE, THAN NEED A CALIBRA AND NOT HAVE ONE!!!
BEST STANDARD BILLING 2009 CO-OWNER
BEST STANDARD BILLING 2011 CO-OWNER
BEST PRESENTED BILLING 2012
BEST ENGINE BAY BILLING 2015
Chairmans Choice - Scottish Car Show 2016
BEST INTERIOR VBOA 2017
BEST IN SHOW VBOA 2018
VBOA CHAIRMAN CUP 2018
BEST STANDARD BILLING 2009 CO-OWNER
BEST STANDARD BILLING 2011 CO-OWNER
BEST PRESENTED BILLING 2012
BEST ENGINE BAY BILLING 2015
Chairmans Choice - Scottish Car Show 2016
BEST INTERIOR VBOA 2017
BEST IN SHOW VBOA 2018
VBOA CHAIRMAN CUP 2018
-

- Gold Member

- Posts: 3285
- Joined: Tue May 15, 2007 7:30 pm
- Location: east ayrshire, scotland
Re: some protection to the underside
GreyDJ wrote:Chavtastic wrote:Good job all round - are you ditching the foam on the bulkhead? Looks like a water trap to me?
Generally it is only the bottom 2 to 3 inches of the foam that turns into a water trap and that looks as if it has already been cut off!
Yes due to the lip along the bottom pf the bulk head, the foam sits there and the dirt and water cant really go any place ...at leats this way with the protection of wax the water will run off the upper foam and then just escape, or I can jet wash along there during the car washing
Allys Cally wrote:looking good mate, when can i bring mine up for you to do
sure mate ...bring it over ...took me 6 weeks yours should be ready in time for billing....depnding on weather
-
- ClubCalibra.net
- Posts: 3621
- Joined: Sat Dec 06, 2003 1:00 pm
- Location: Rosyth Scotland
Re: some protection to the underside
what a minter...ready for another 20 years.
Im testing a 3 phase corrosion and prevention treatment from US on mine that uses a final epoxy non porous blackseal. touted to be better than Por15 multi-stage treatments.
It is sticky stuff. Normal rust prevention comes of my hands in a few days. This stuff was still there 10 days later.
Im testing a 3 phase corrosion and prevention treatment from US on mine that uses a final epoxy non porous blackseal. touted to be better than Por15 multi-stage treatments.
It is sticky stuff. Normal rust prevention comes of my hands in a few days. This stuff was still there 10 days later.
- ClubCalibra.net

- Posts: 228
- Joined: Sat Jul 23, 2005 10:02 pm
- Location: Glesga, Scotland
Re: some protection to the underside
crinklebender wrote:what a minter...ready for another 20 years.
Im testing a 3 phase corrosion and prevention treatment from US on mine that uses a final epoxy non porous blackseal. touted to be better than Por15 multi-stage treatments.
It is sticky stuff. Normal rust prevention comes of my hands in a few days. This stuff was still there 10 days later.
What is it called?
Cavalier CDi 96 Grey
Cavalier SRi 93 Satin Red
Cavalier Mk2 CD130 86 White
Cavalier SRi 93 Satin Red
Cavalier Mk2 CD130 86 White
- ClubCalibra.net
- Posts: 312
- Joined: Sun Nov 29, 2009 10:58 pm
- Location: Milton Keynes
Re: some protection to the underside
GreyDJ wrote:crinklebender wrote:what a minter...ready for another 20 years.
Im testing a 3 phase corrosion and prevention treatment from US on mine that uses a final epoxy non porous blackseal. touted to be better than Por15 multi-stage treatments.
It is sticky stuff. Normal rust prevention comes of my hands in a few days. This stuff was still there 10 days later.
What is it called?
KBS 3 stage. You can get a small size test pack from ebay which will go a long way. Not enough for an underside though.
http://www.kbs-coatings.com/kbs-three-step-system.html
Im testing it on the impossible. rusty wheel arches, which usually cannot be sorted. Did one arch the regular way: grind, clean, Krust and fill. The other one with KBS six months ago. The KBS one has held up, while the other one is starting to bubble again, wait and see what happens over the winter though.
- ClubCalibra.net
- Posts: 228
- Joined: Sat Jul 23, 2005 10:02 pm
- Location: Glesga, Scotland
Re: some protection to the underside
Looking good, wish i had the time and resources to do mine 
Nothing succeeds like a budgie with nae teeth
Up the Hibs!!
Now with added Vectra VXR power
Now calibraless
Up the Hibs!!
Now with added Vectra VXR power
Now calibraless
-

- ClubCalibra.net
- Posts: 1320
- Joined: Thu Apr 08, 2004 8:55 pm
- Location: Luton
Who is online
Users browsing this forum: No registered users and 16 guests