The overall plan
well after having the MG for only a day it decided to play silly beggars and the alternator was found to be cream crackered! Typical MG build quality!
So there it is, instead of sorting out the cally I had to change the alternator last weekend so off i set...
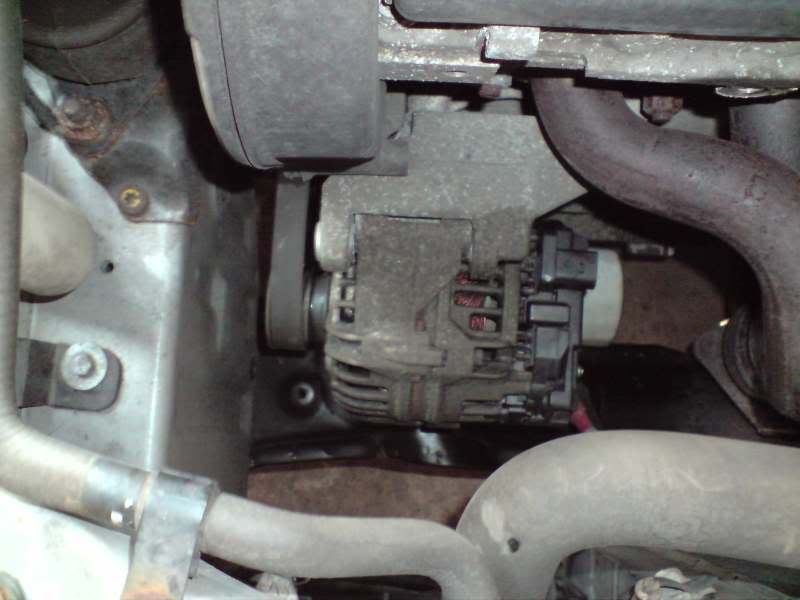
There she is, all small and fragile...
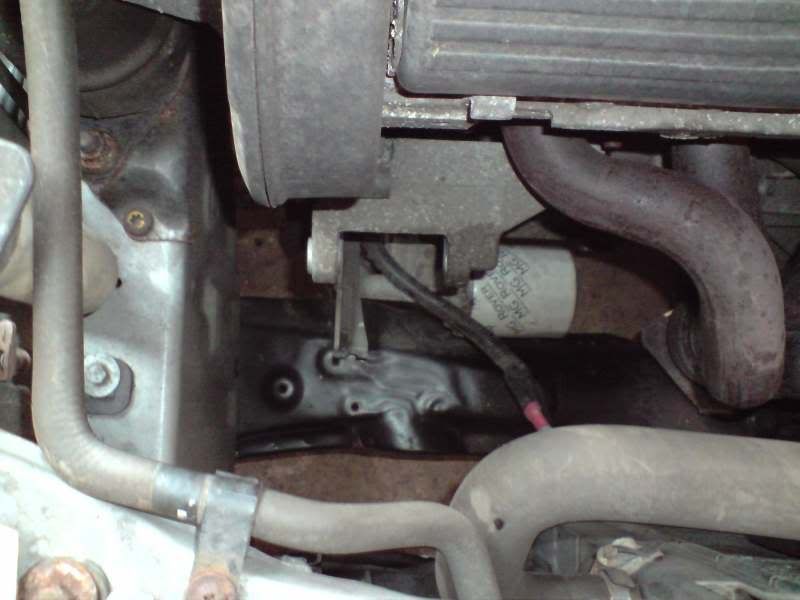
there she goes!
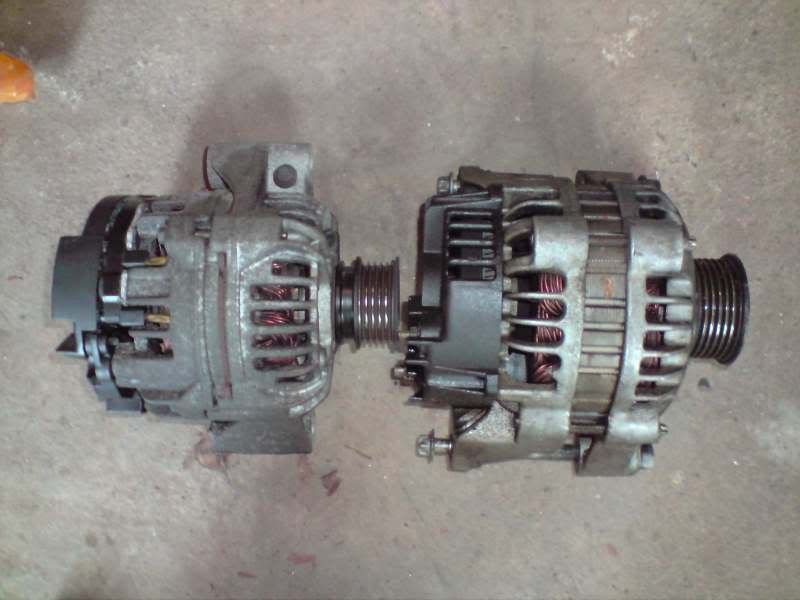
puny thing... (up against the cally alternator)
Anyway thats all sorted now and was a nice easy job
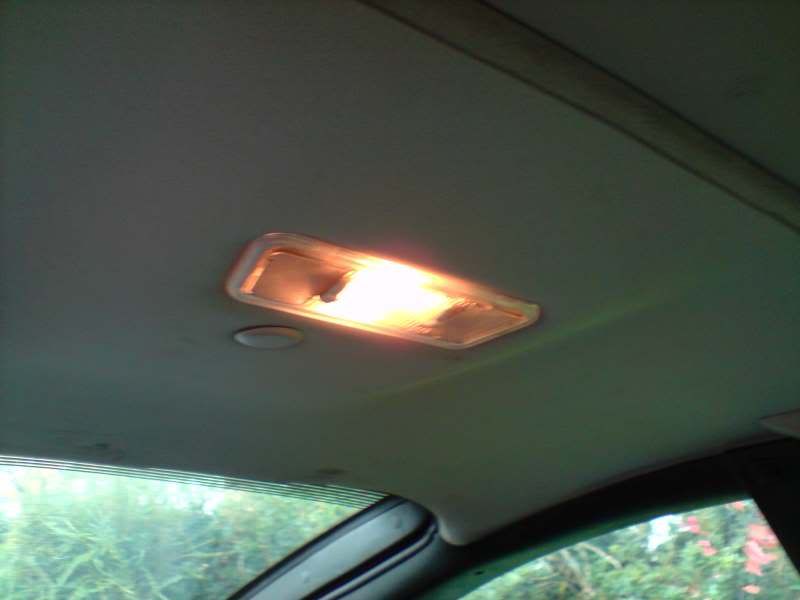
I managed to sneak in about 10 minutes yesterday to get the interior light working again
Light out...
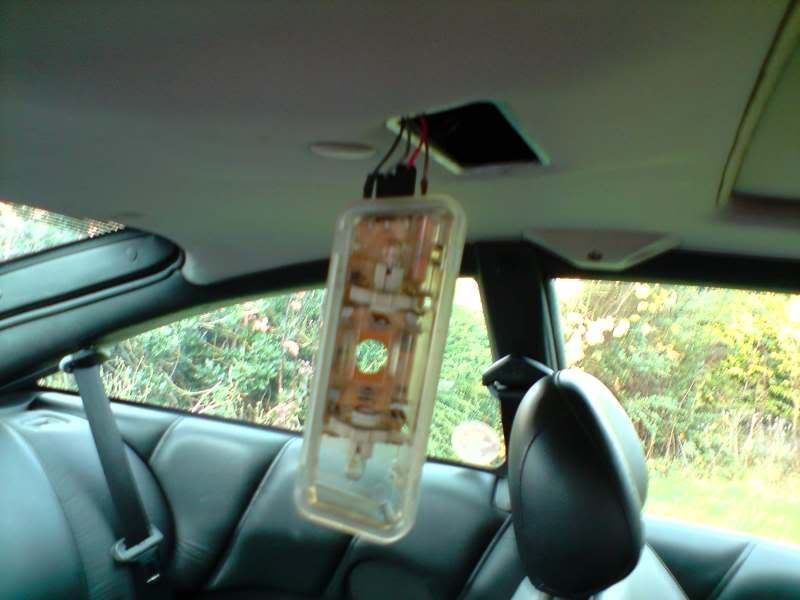
Tada!
More soon :p
So there it is, instead of sorting out the cally I had to change the alternator last weekend so off i set...
There she is, all small and fragile...
there she goes!
puny thing... (up against the cally alternator)
Anyway thats all sorted now and was a nice easy job
I managed to sneak in about 10 minutes yesterday to get the interior light working again
Light out...
Tada!
More soon :p
-
fraggie
Re: The overall plan
right well its been a while :p
after a hectic schedule and another house move (only the third house this project) im about ready to start again
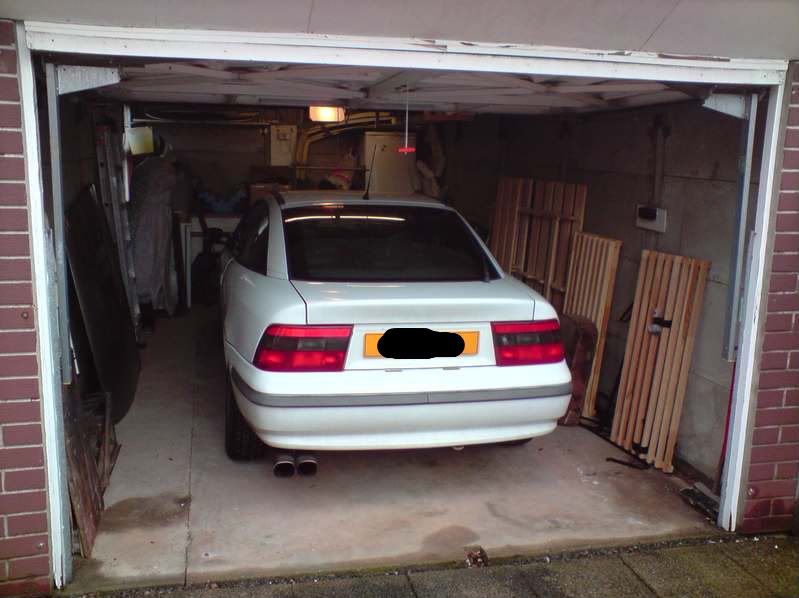
the cally now has a new home and i now have somewhere nice to work!
I also have a few purchases (with a few more to come over the next few days)
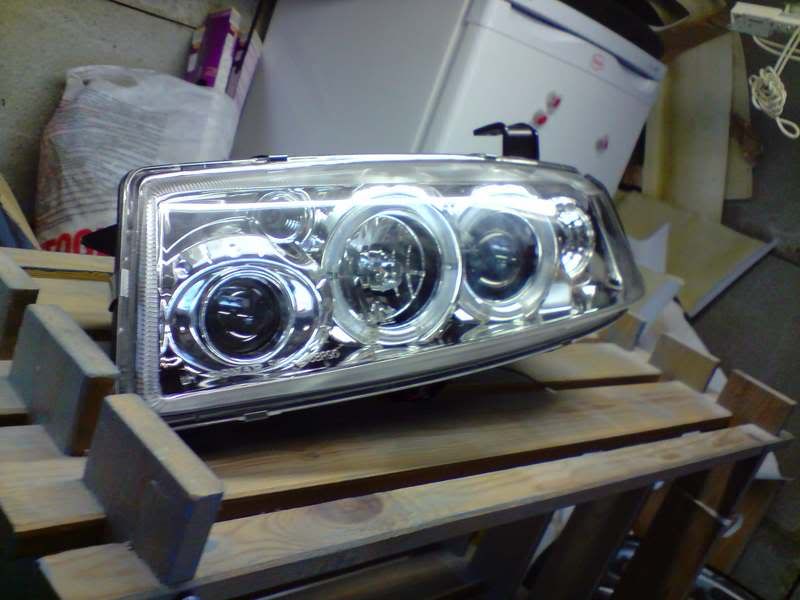
Some clear headlights
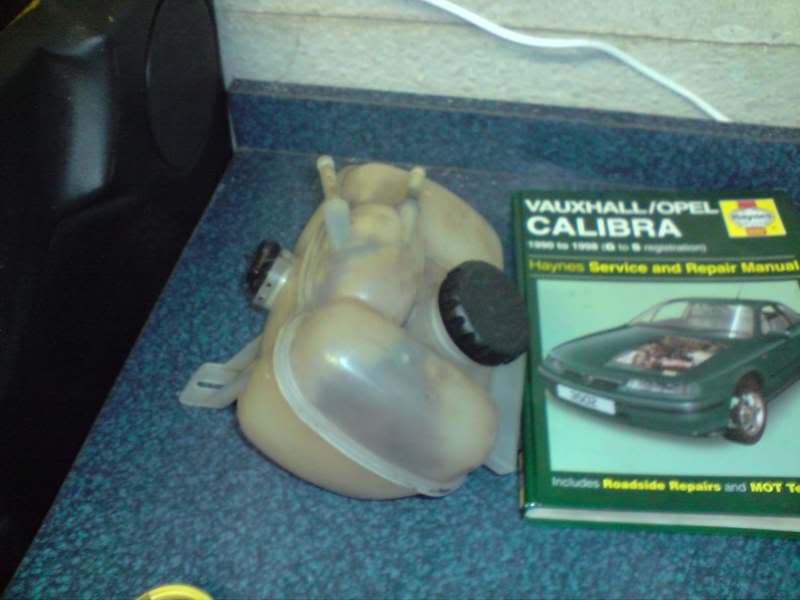
A header tank
More to come soon
Anyway, today I thought id do as much as i could to prepare for the upcoming weeks.
Bumper and battery off...
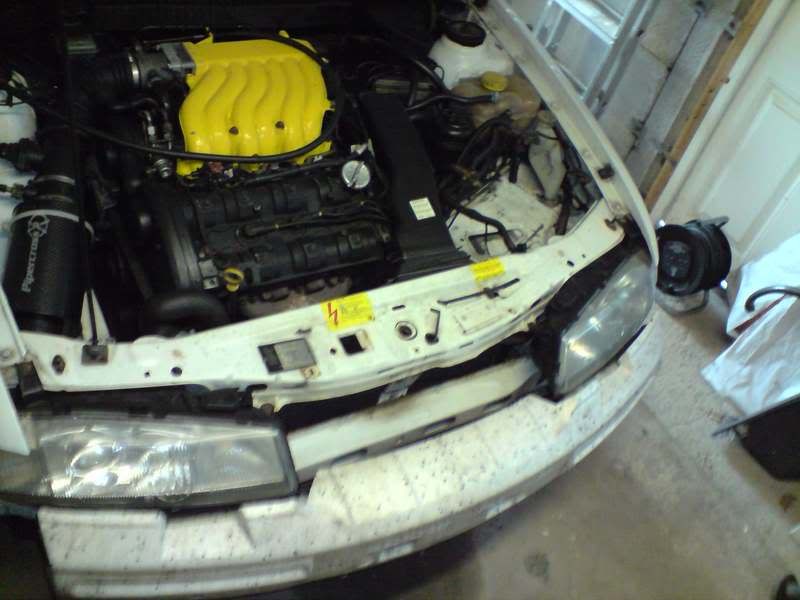
Lights out...
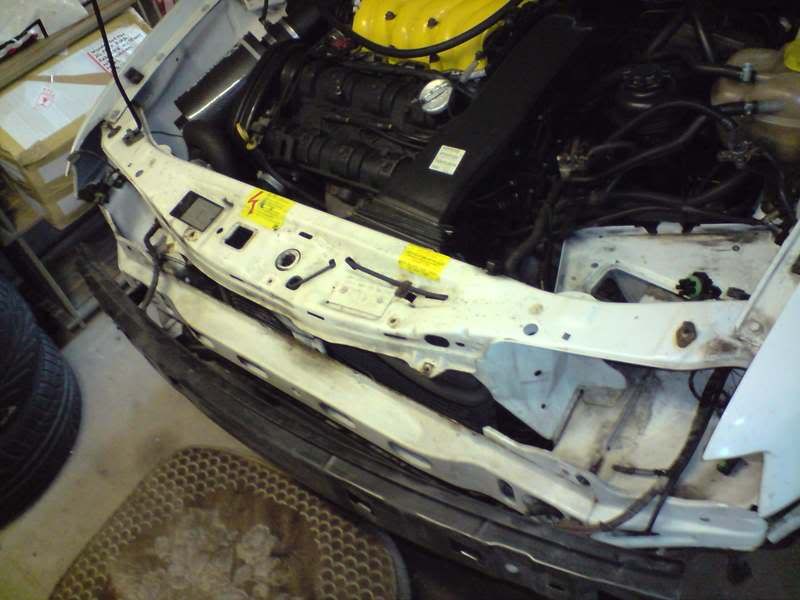
Old knackered header tank out...
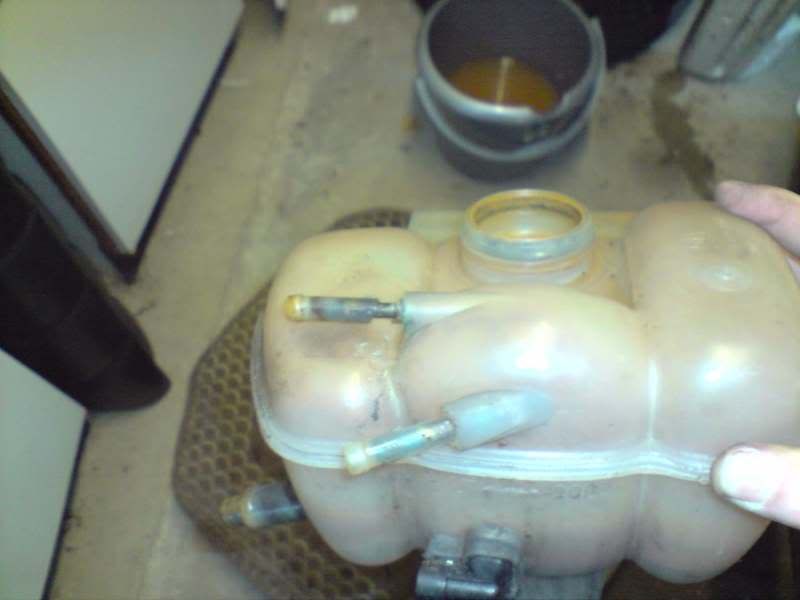
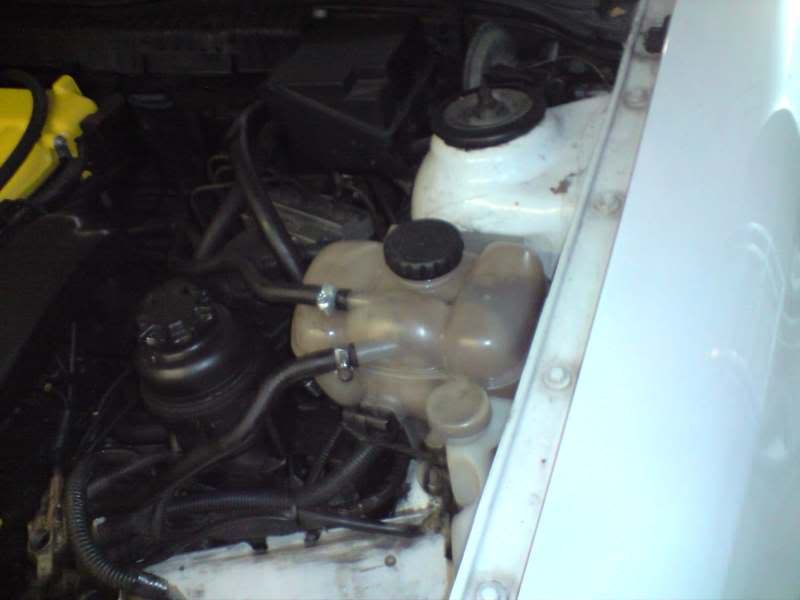
New non leaking header tank back in...
The heater matrix needs replacing as it gets a bit chilly at the moment! So off with the pipes to the bulk header (breaking the seals was a pain!)

This is what im after!
Console a bit out...
Thats better...
Skip an hour and a half... The back, left bolt was a total pain to get out and after much swearing later...

Tada!
Its blocked as thought so the new one will be here sometime next week.
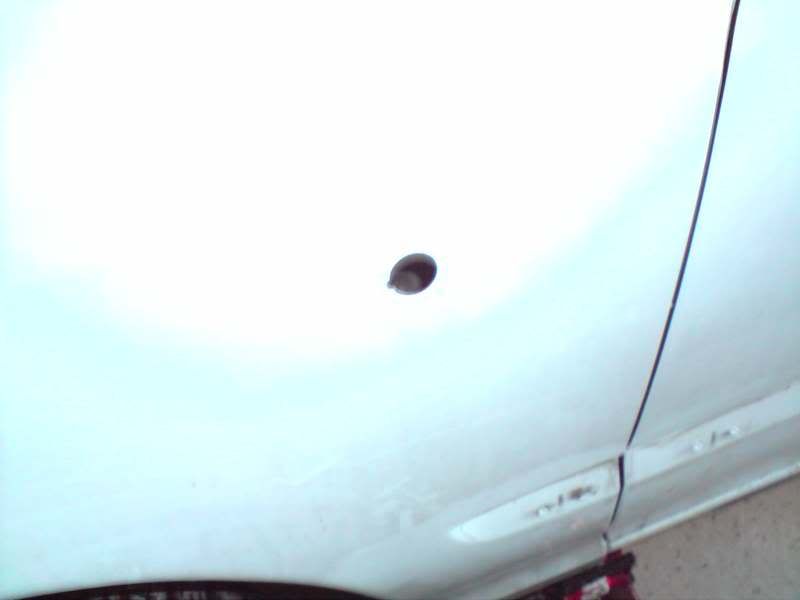
One heaterless hole...
And thats it for today. At least its started again.
Im looking for anyone who would be willing to help me fit the wide arch kit in the Nottingham area. Funding through a nice warm place to work, as many bacon butties as your heart desires and coffee on tap
More next week
Bill
after a hectic schedule and another house move (only the third house this project) im about ready to start again
the cally now has a new home and i now have somewhere nice to work!
I also have a few purchases (with a few more to come over the next few days)
Some clear headlights
A header tank
More to come soon
Anyway, today I thought id do as much as i could to prepare for the upcoming weeks.
Bumper and battery off...
Lights out...
Old knackered header tank out...
New non leaking header tank back in...
The heater matrix needs replacing as it gets a bit chilly at the moment! So off with the pipes to the bulk header (breaking the seals was a pain!)
This is what im after!
Console a bit out...
Thats better...
Skip an hour and a half... The back, left bolt was a total pain to get out and after much swearing later...
Tada!
Its blocked as thought so the new one will be here sometime next week.
One heaterless hole...
And thats it for today. At least its started again.
Im looking for anyone who would be willing to help me fit the wide arch kit in the Nottingham area. Funding through a nice warm place to work, as many bacon butties as your heart desires and coffee on tap
More next week
Bill
-
fraggie
Re: The overall plan
right well more has been done today.
earlier in the week a couple of jolly nice blokes came around and agreed to do the kit and spraying so that should be done late feb - early march
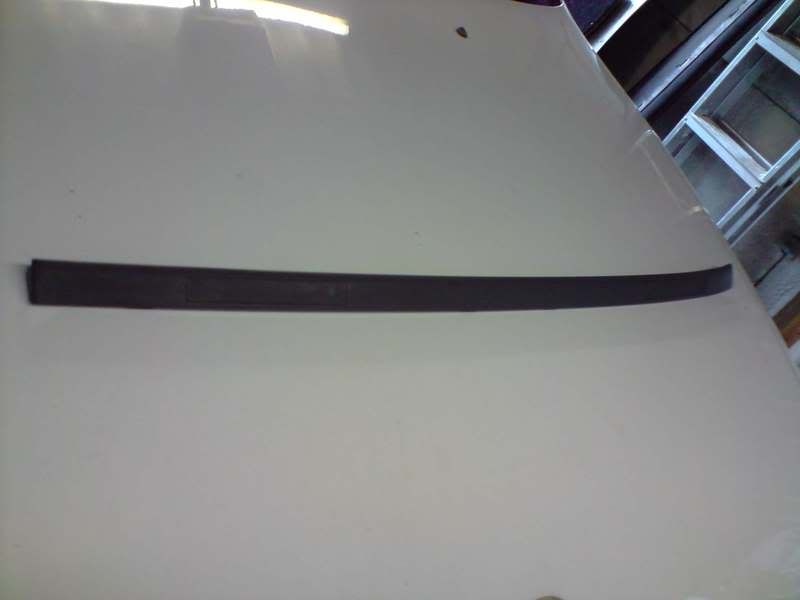
anyway, i thought id start off by getting rid of the bump strips at the side.
the indent will be filled before spraying, therefore because of this the kit needs modifying to get rid of the part that allows for the bump as follows...
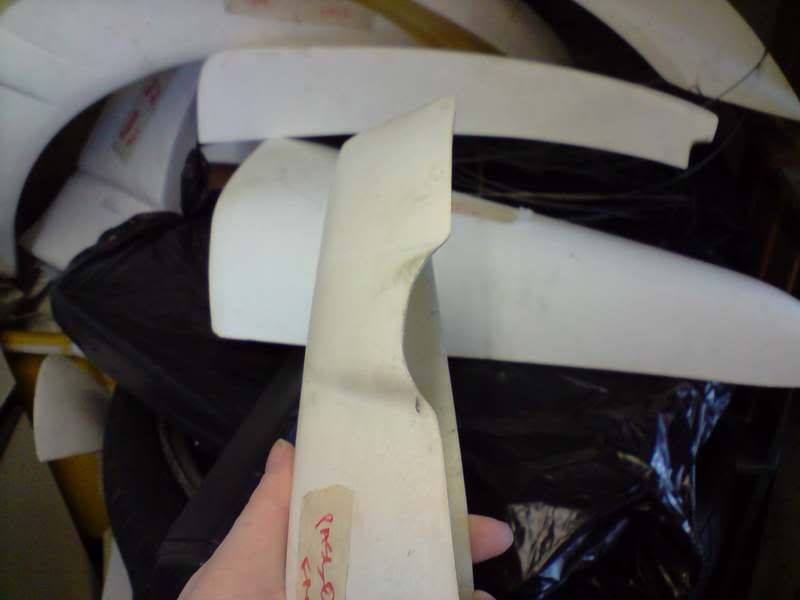
this will be done next week.
anyway off with the bumpstrips...

this was done both sides then I cleaned it down as it was filthy...
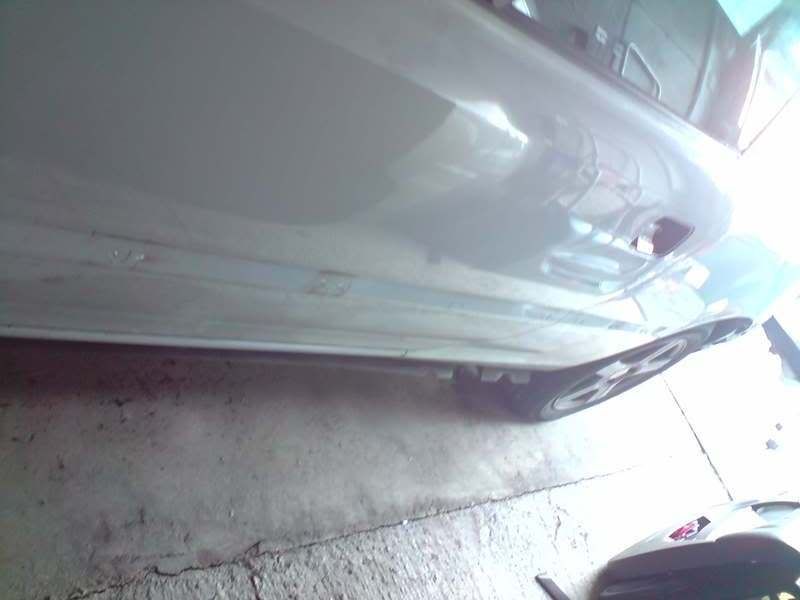
after this i got the old sideskirts off below...
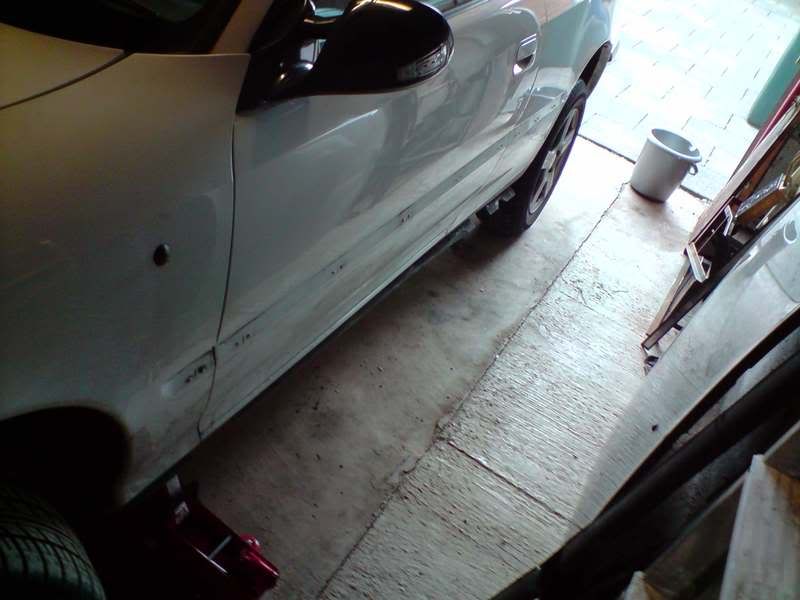
these are now ready for the new skirts
it then started snowing quite heavily so im glad that ive got my garage..

back to work
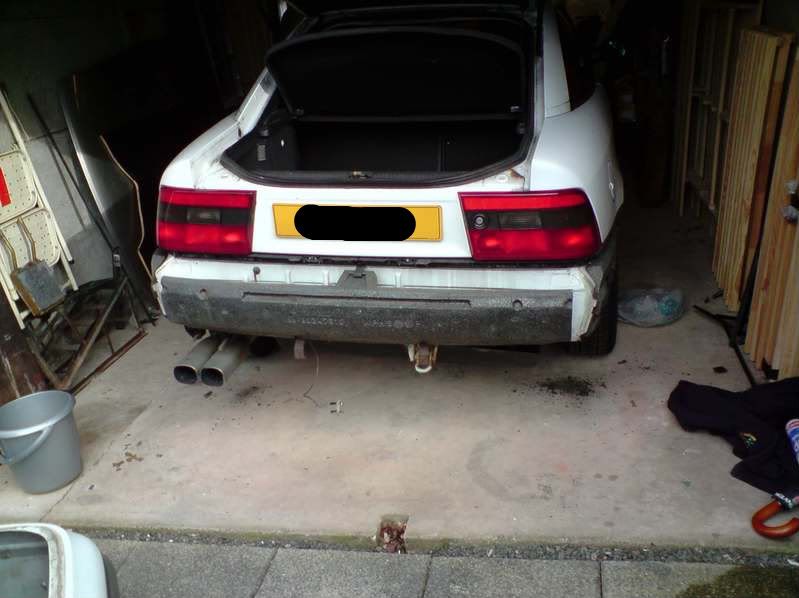
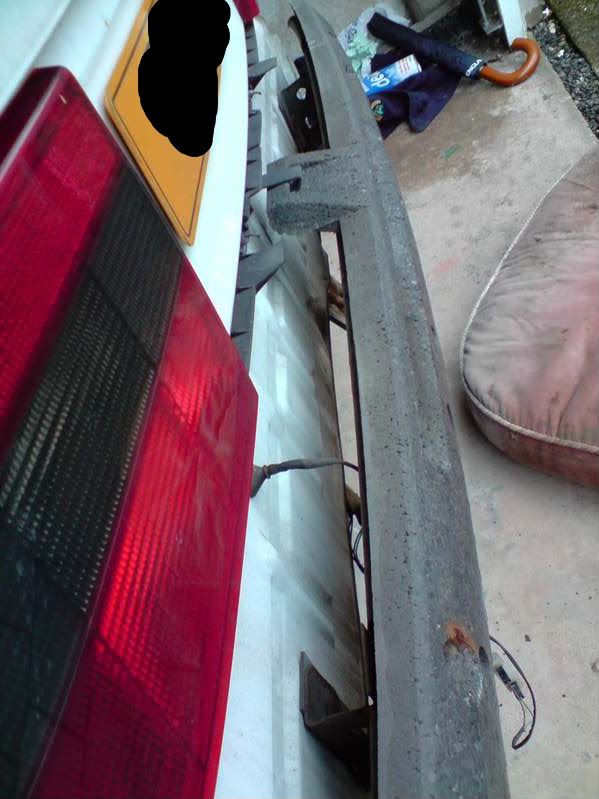
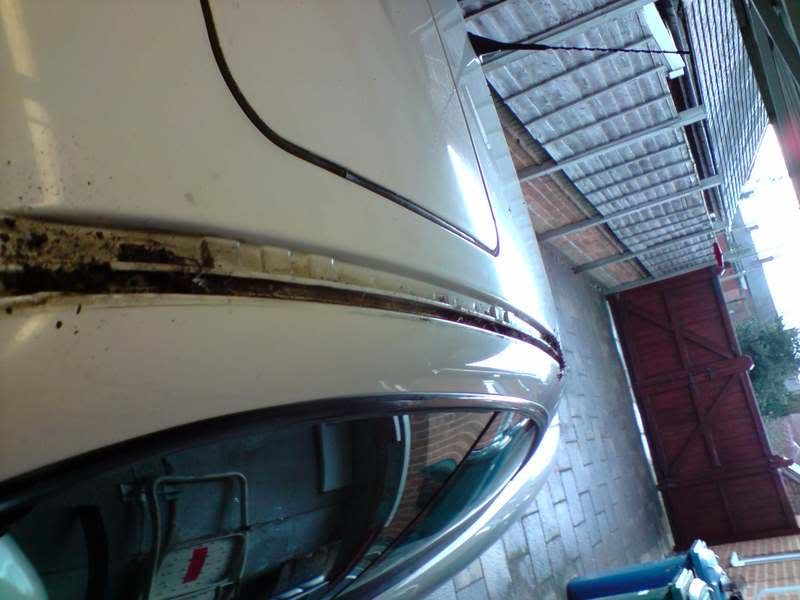
i now got the rear bumper off to remove the old bump strips and found that it had never been removed before (certain bolts hadn't been left off like usual.. so it was nice to find that the car is unmolested underneath
broken bump strip..
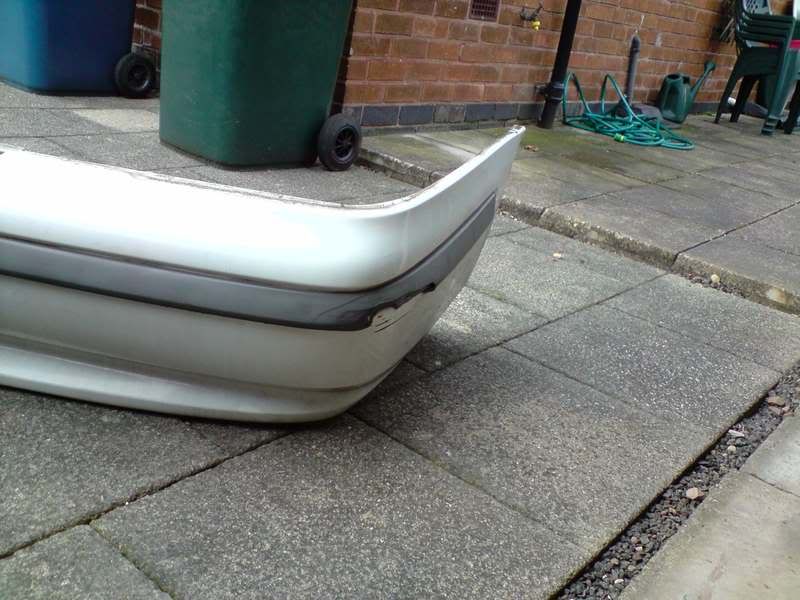
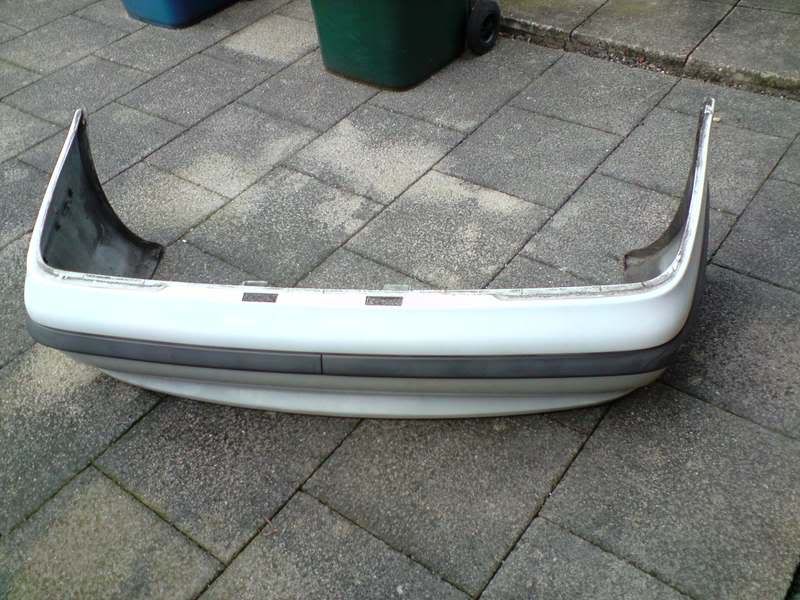
and once id got them off..
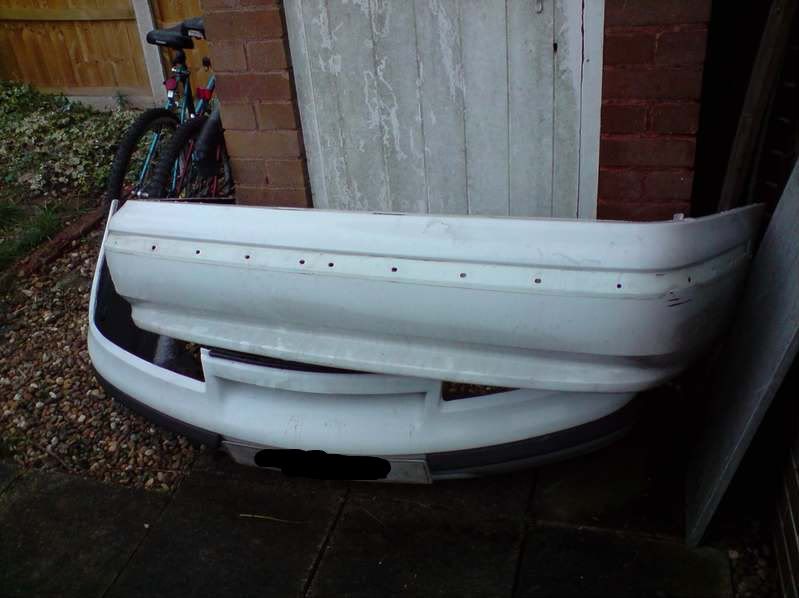
nice and clean
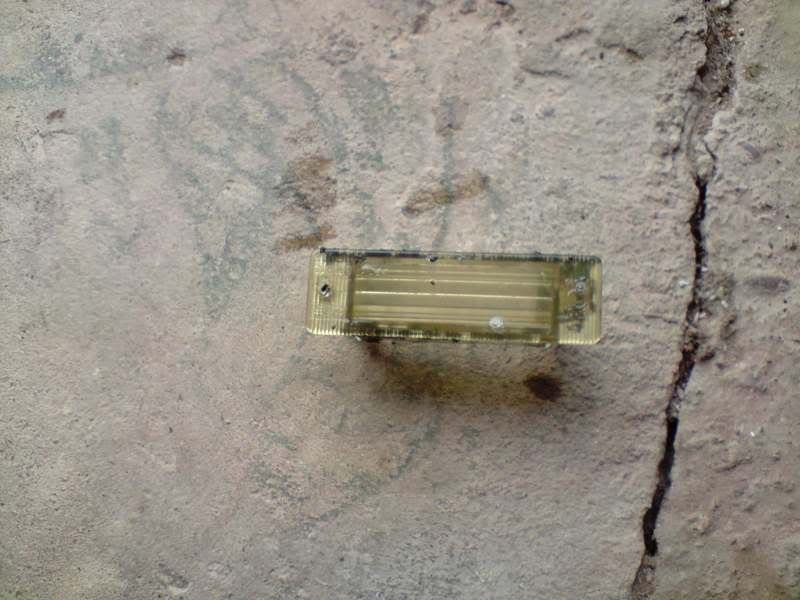
the rear numberplate light holders however were not!
so after a soak and a toothpaste clean...
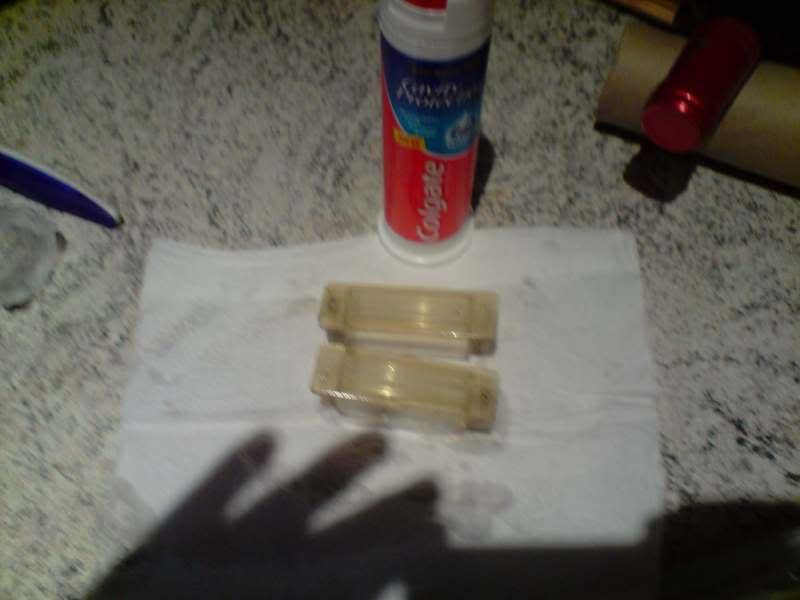
good stuff
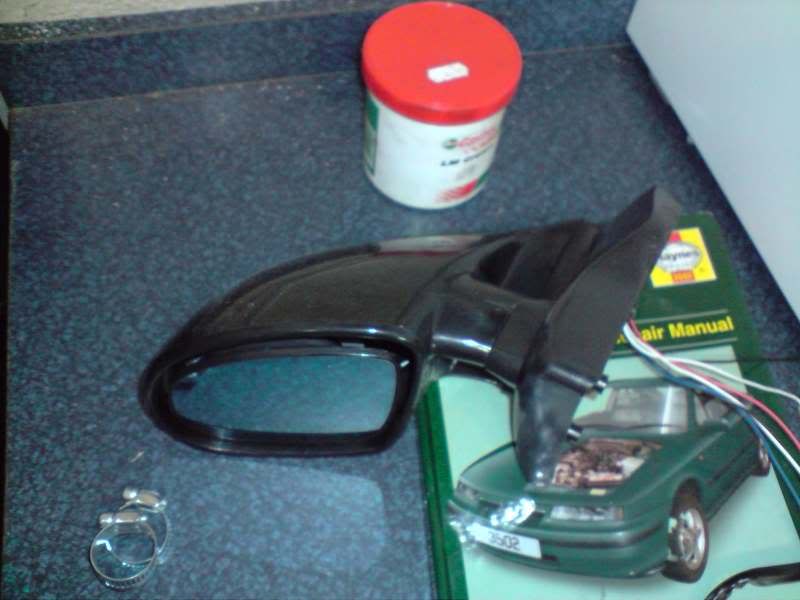
next i got the mirrors off ready for thier spraying..
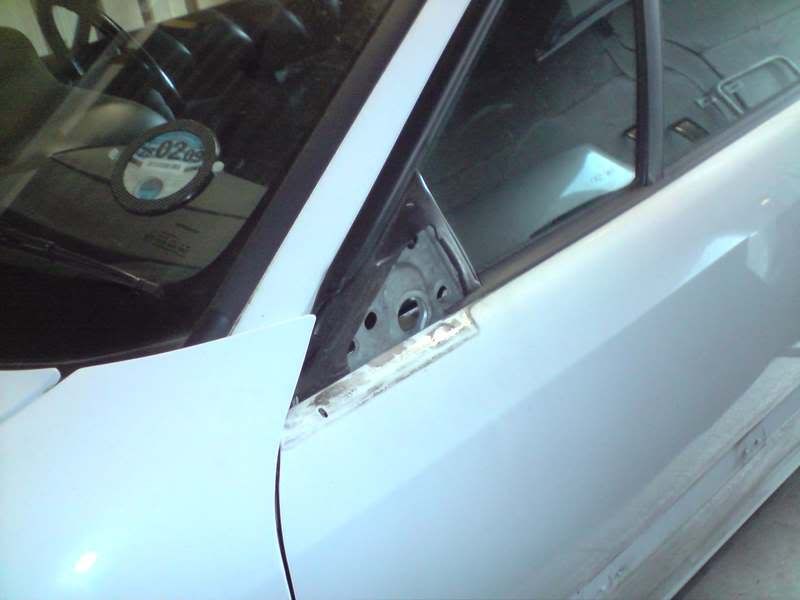
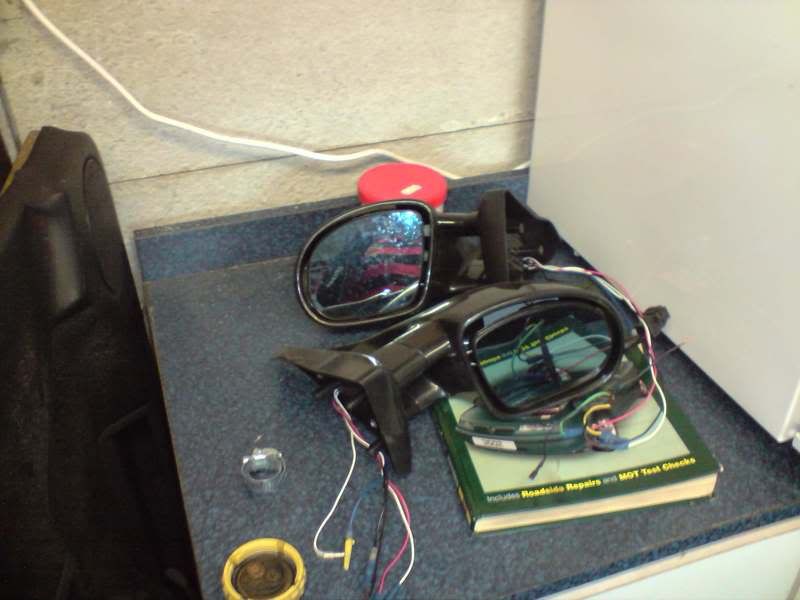
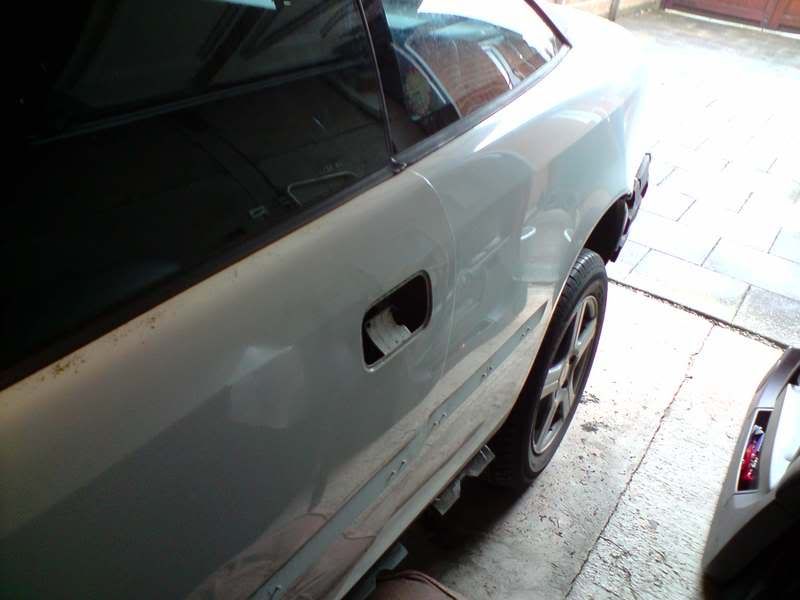
and in getting them off i noticed my drivers side door card has bubbled (im on the lookout for another if anybody has one )
next off were the roofrails ready for a spraying...

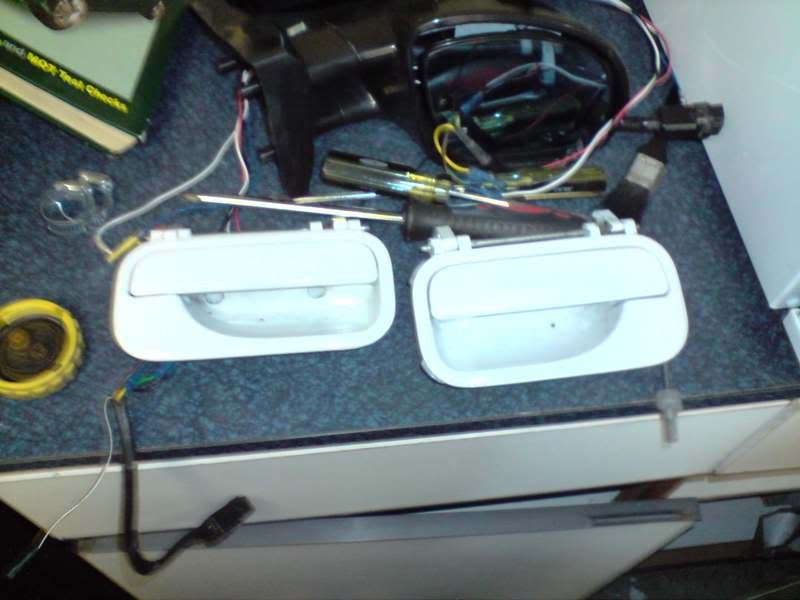
and finally the door handles (a pain in the *** of a job!)
so thats where im at currently.
next weekend some welding will take place aswell as the kit modification and some paint prep work for the mirrors, handles roofrails and bump strips.
if anybody has any rear bump strips with no dents in them or a drivers side door card in black then please let me know
Cheers
Bill
earlier in the week a couple of jolly nice blokes came around and agreed to do the kit and spraying so that should be done late feb - early march
anyway, i thought id start off by getting rid of the bump strips at the side.
the indent will be filled before spraying, therefore because of this the kit needs modifying to get rid of the part that allows for the bump as follows...
this will be done next week.
anyway off with the bumpstrips...
this was done both sides then I cleaned it down as it was filthy...
after this i got the old sideskirts off below...
these are now ready for the new skirts
it then started snowing quite heavily so im glad that ive got my garage
back to work
i now got the rear bumper off to remove the old bump strips and found that it had never been removed before (certain bolts hadn't been left off like usual.. so it was nice to find that the car is unmolested underneath
broken bump strip..
and once id got them off..
nice and clean
the rear numberplate light holders however were not!
so after a soak and a toothpaste clean...
good stuff
next i got the mirrors off ready for thier spraying..
and in getting them off i noticed my drivers side door card has bubbled
next off were the roofrails ready for a spraying...
and finally the door handles (a pain in the *** of a job!)
so thats where im at currently.
next weekend some welding will take place aswell as the kit modification and some paint prep work for the mirrors, handles roofrails and bump strips.
if anybody has any rear bump strips with no dents in them or a drivers side door card in black then please let me know
Cheers
Bill
-
fraggie
Re: The overall plan
Top thread this fraggie mate well done so far...
i just sold a set of brand new rear bump strips mate, sorry...i do however have a brand new rear bumper if you so desire, gel primed ready for spraying..
i just sold a set of brand new rear bump strips mate, sorry...i do however have a brand new rear bumper if you so desire, gel primed ready for spraying..
-
RAINMAKER
Re: The overall plan
well had a half good day half bad day...
ive had problems with the ignition barrel but thats in another thread
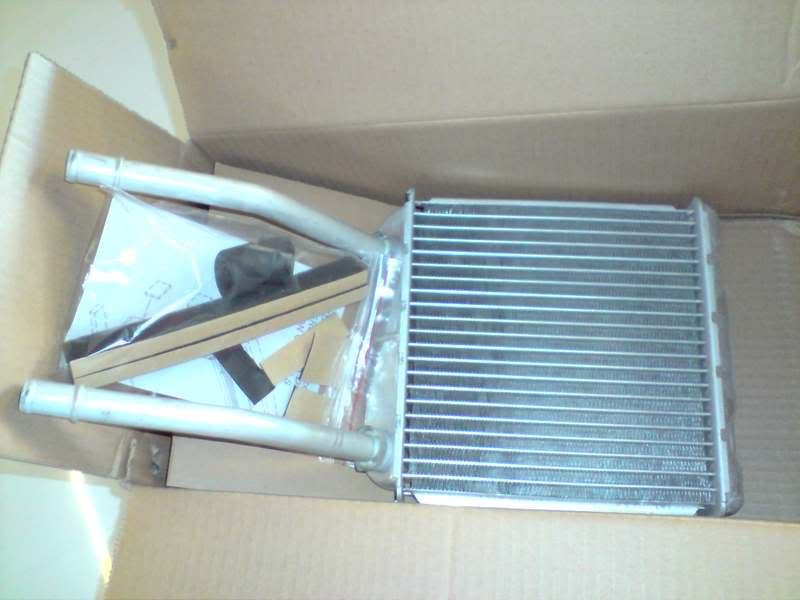
Finally got my new heater matrix through which will be going in tomorrow
Two holes that need filling in...
Ground down to the paint...

Weld one nail to the metal...
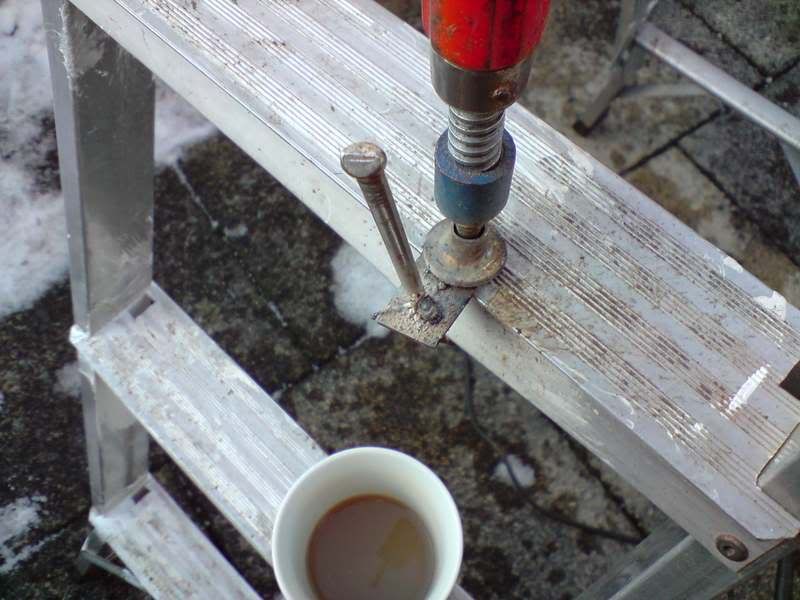
This allows us to hold the metal from the inside of the front arch so that one done all it will need is a small skim of filler...
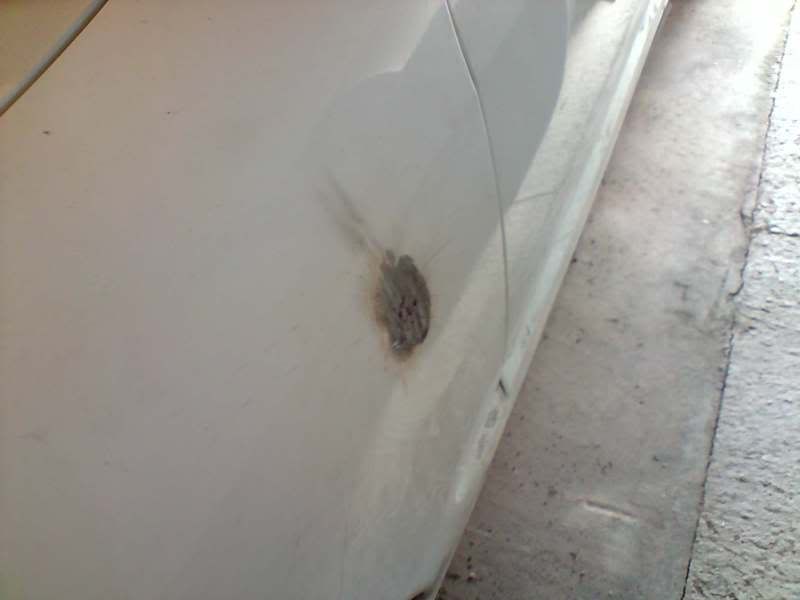
Tada Done on both sides.
All the knubs have been ground off too..
Holes primered with white primer just to stave off the rust

Thats it for today... Anybody wishing to help with the barrel please get in contact
More tomorrow
Cheers
ive had problems with the ignition barrel but thats in another thread
Finally got my new heater matrix through which will be going in tomorrow
Two holes that need filling in...
Ground down to the paint...
Weld one nail to the metal...
This allows us to hold the metal from the inside of the front arch so that one done all it will need is a small skim of filler...
Tada
All the knubs have been ground off too..
Holes primered with white primer just to stave off the rust
Thats it for today... Anybody wishing to help with the barrel please get in contact
More tomorrow
Cheers
-
fraggie
Re: The overall plan
more progress today and finally some good news
Got the new heater matrix in and bolted up...
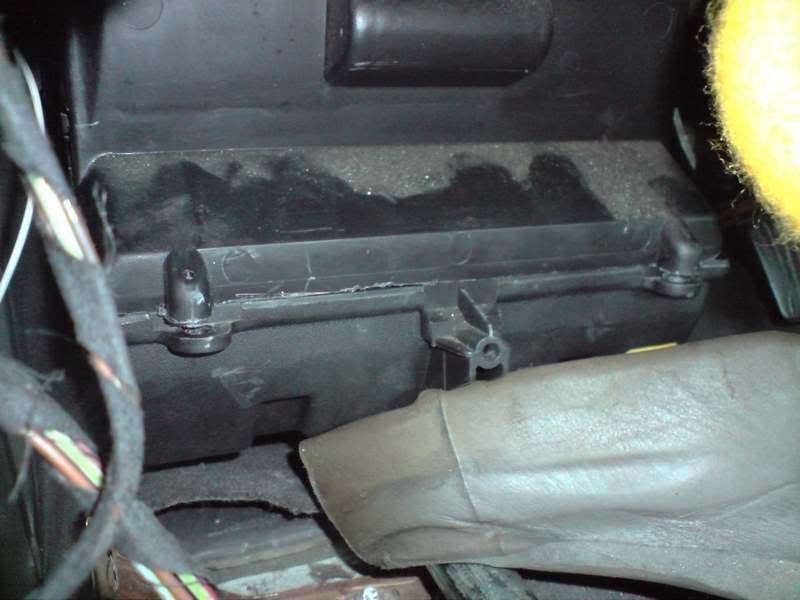
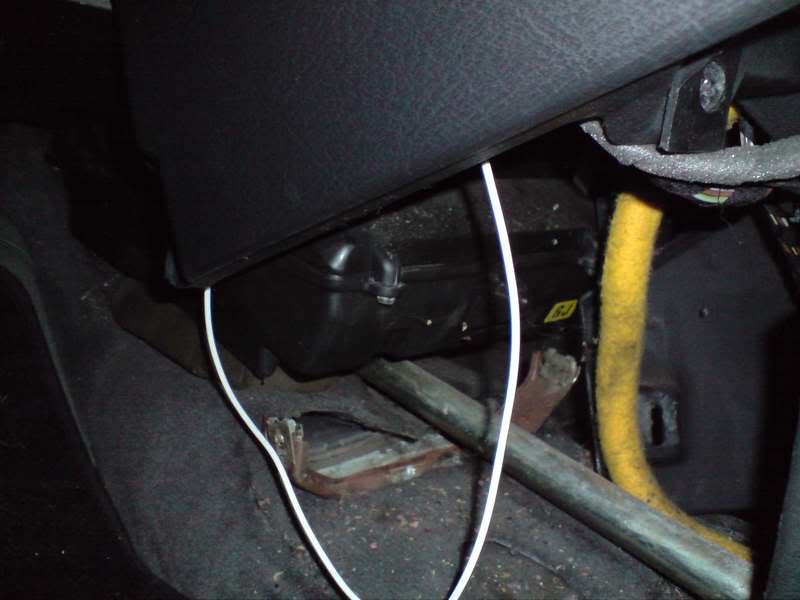
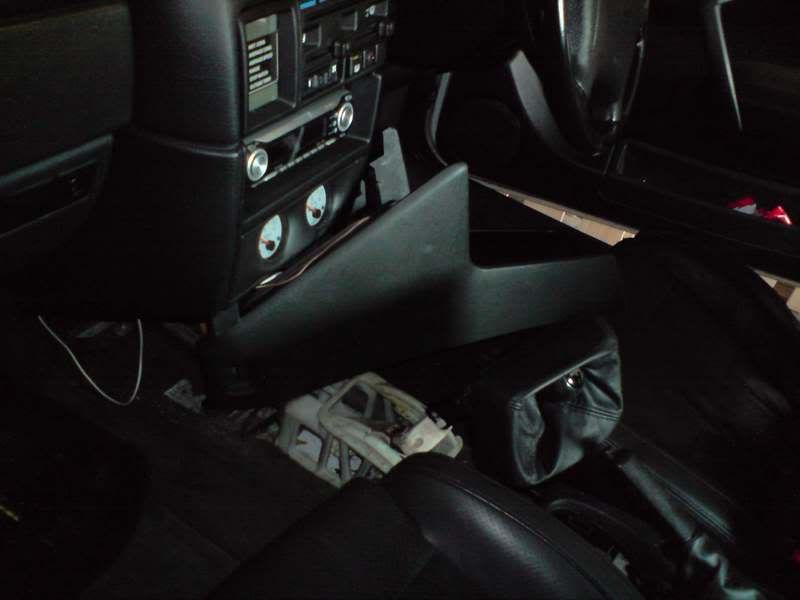
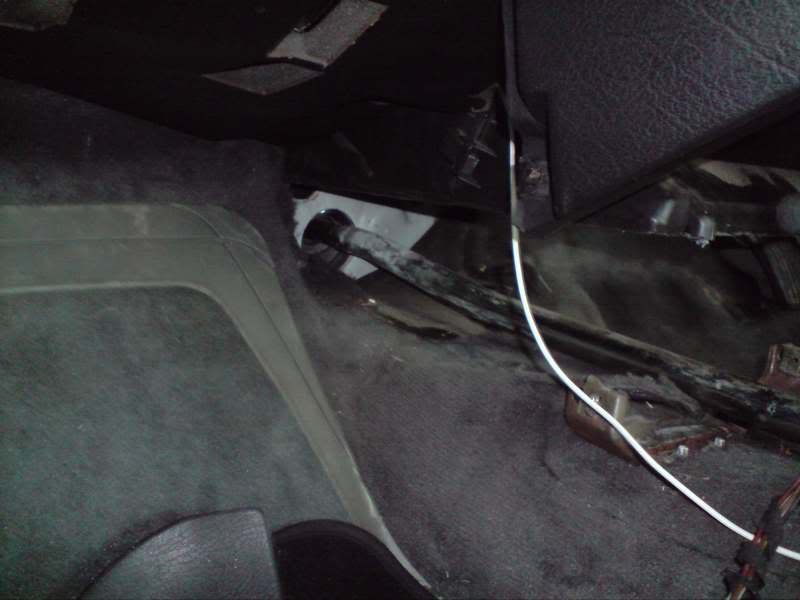
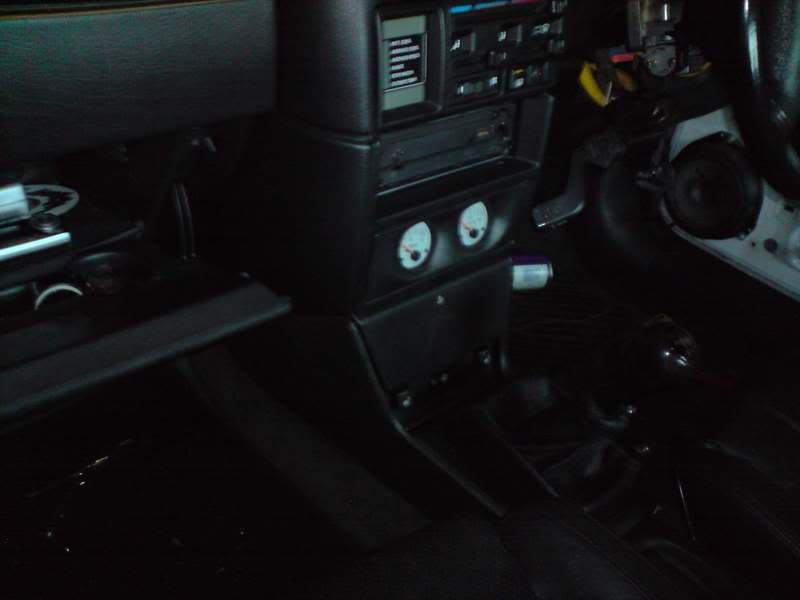
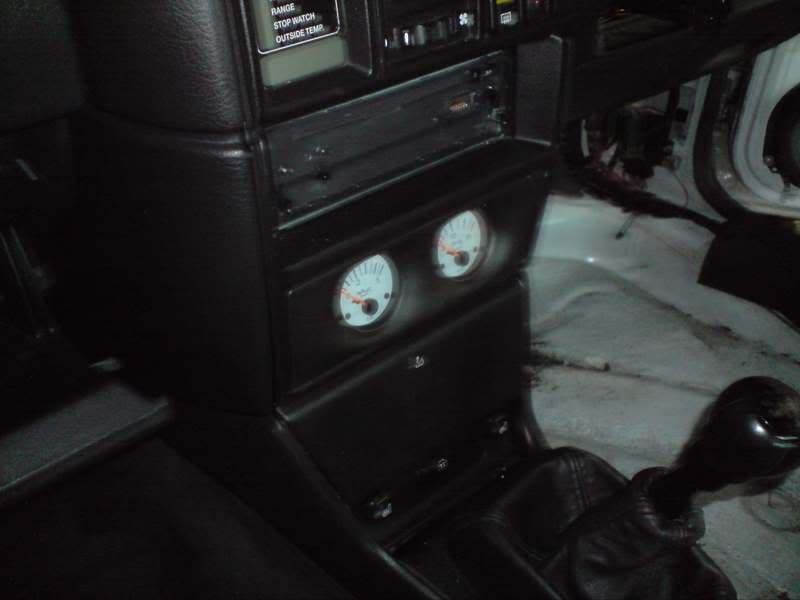
All the centre console back in (nicely rewired now for easy removal in the future )
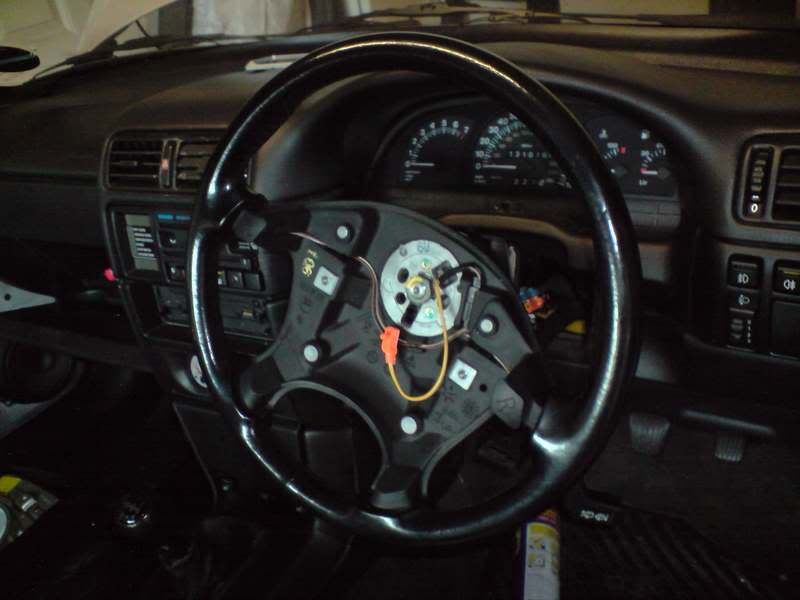
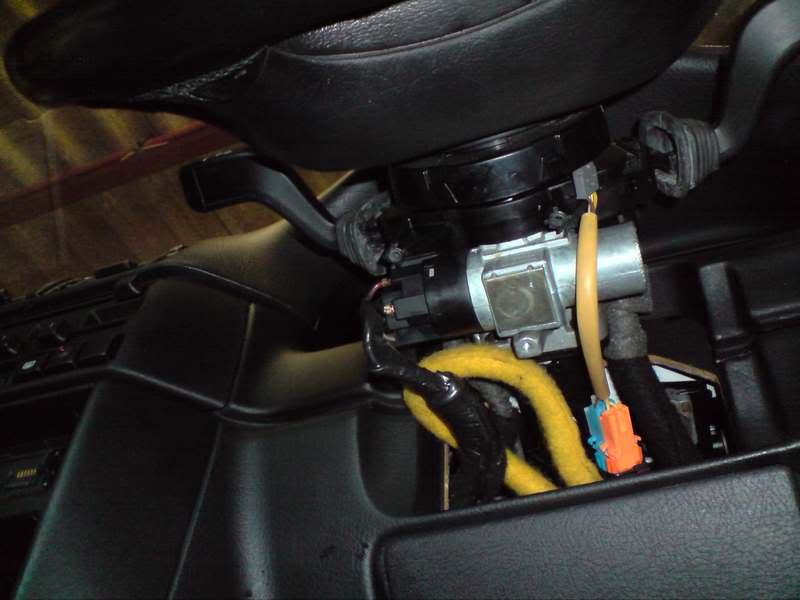
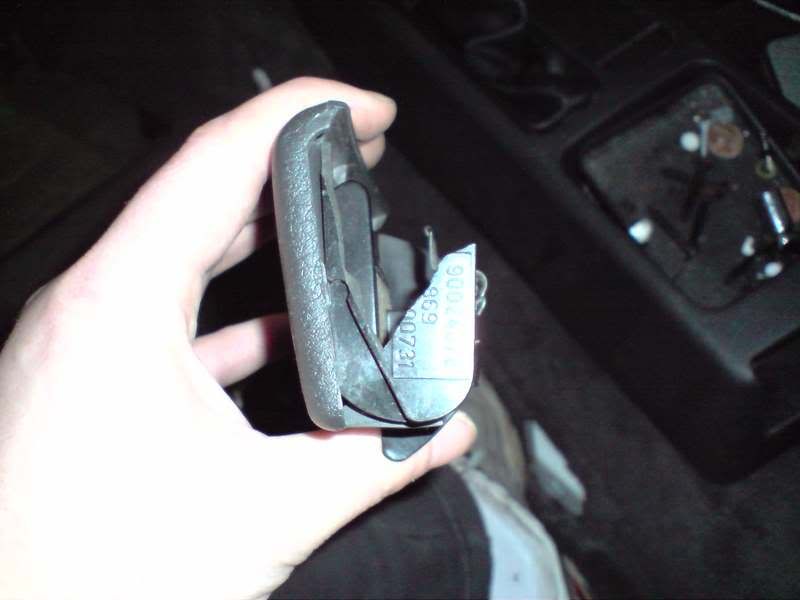
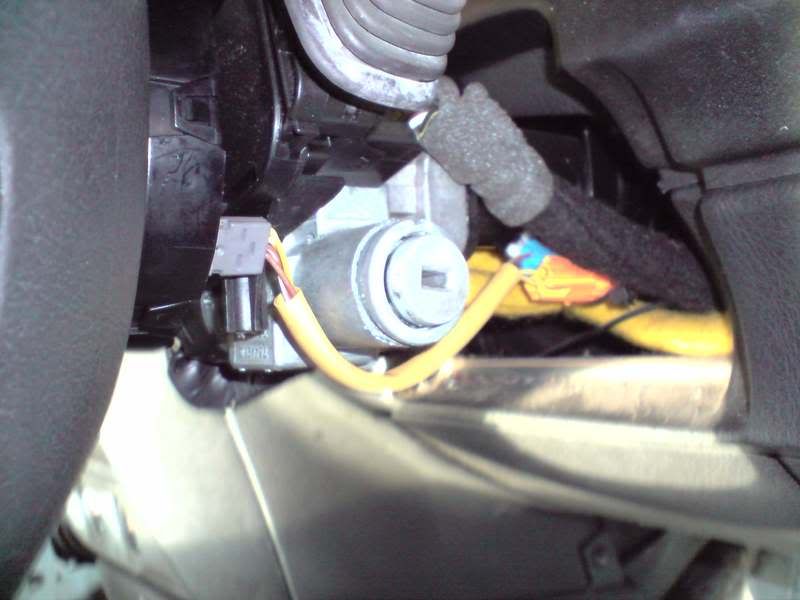
Unfortunately with the barrel in the state it was there wasn't much chance to test the matrix so i set about the barrel with me newly aquired chisel and punches :p
Many people have told me that id need a whole new centre aluminium section but i have proved the doubters wrong I finally got the barrel out after removing the final tumbler, getting the key in and then managing to turn the barrel so i could get it out in the normal way
Airbag off
Barrel out
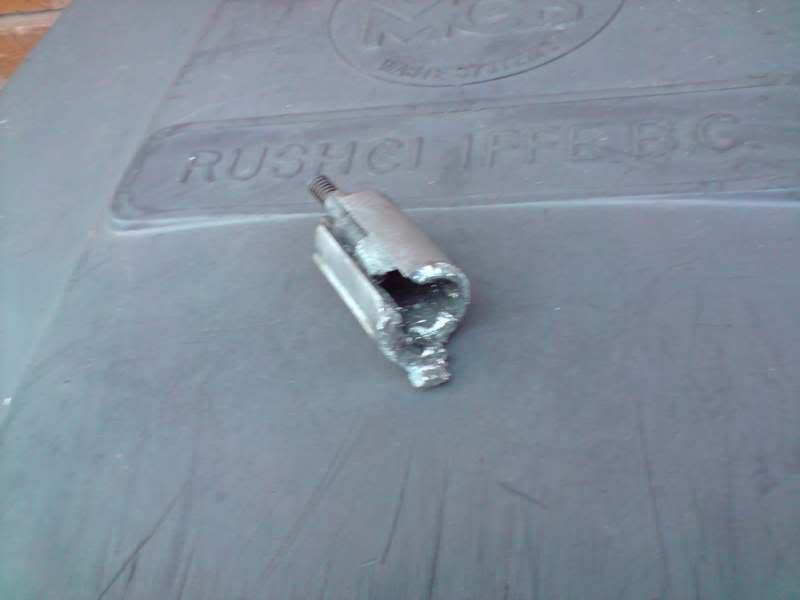
Holey holey
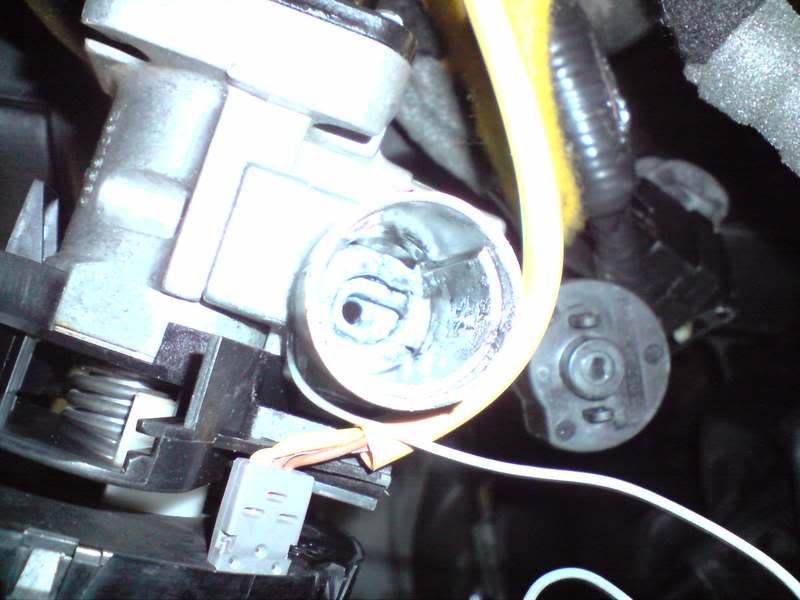
Just need the new one in now and ill be sorted
It looks nice and simple but that took me 2 hours to get out! Never again!
Now i can get on with doing stuff that matters to the car!
Hopefully some new bits will be arriving next week so I will update as and when
Cheers
Bill
Got the new heater matrix in and bolted up...
All the centre console back in (nicely rewired now for easy removal in the future
Unfortunately with the barrel in the state it was there wasn't much chance to test the matrix so i set about the barrel with me newly aquired chisel and punches :p
Many people have told me that id need a whole new centre aluminium section but i have proved the doubters wrong
Airbag off
Barrel out
Holey holey
Just need the new one in now and ill be sorted
It looks nice and simple but that took me 2 hours to get out! Never again!
Now i can get on with doing stuff that matters to the car!
Hopefully some new bits will be arriving next week so I will update as and when
Cheers
Bill
-
fraggie

Re: Re:
lewis wrote:Mark1 wrote:Why don't people speak English anymore it's a diary for gods sake.
Thanks Baz.
That comments a year old:?
Mark...........It's Red........It's a V6............It's an SE9!..............and She's bad.
Mark1@clubcalibra.net
ClubCalibra Best Presented 2006
ClubCalibra Best Presented 2010
ClubCalibra Best Interior 2011
My Garage
Mark1@clubcalibra.net
ClubCalibra Best Presented 2006
ClubCalibra Best Presented 2010
ClubCalibra Best Interior 2011
My Garage
-

- Gold Member

- Posts: 3136
- Joined: Sat Jan 10, 2004 1:00 pm
- Location: Surrey, England
Re: The overall plan
any luck with another barrel yet mate 
BETTER TO HAVE A CALIBRA AND NOT NEED ONE, THAN NEED A CALIBRA AND NOT HAVE ONE!!!
BEST STANDARD BILLING 2009 CO-OWNER
BEST STANDARD BILLING 2011 CO-OWNER
BEST PRESENTED BILLING 2012
BEST ENGINE BAY BILLING 2015
Chairmans Choice - Scottish Car Show 2016
BEST INTERIOR VBOA 2017
BEST IN SHOW VBOA 2018
VBOA CHAIRMAN CUP 2018
BEST STANDARD BILLING 2009 CO-OWNER
BEST STANDARD BILLING 2011 CO-OWNER
BEST PRESENTED BILLING 2012
BEST ENGINE BAY BILLING 2015
Chairmans Choice - Scottish Car Show 2016
BEST INTERIOR VBOA 2017
BEST IN SHOW VBOA 2018
VBOA CHAIRMAN CUP 2018
-

- Gold Member
- Posts: 3285
- Joined: Tue May 15, 2007 7:30 pm
- Location: east ayrshire, scotland
Re: The overall plan
right well today i couldn't go to work due to (other) car issues:( but in the time gap of getting that sorted I thought I may aswell get a little bit done on the cally
started off by bleeding the coolant system and left that to cool down once done (not tested the matrix yet).
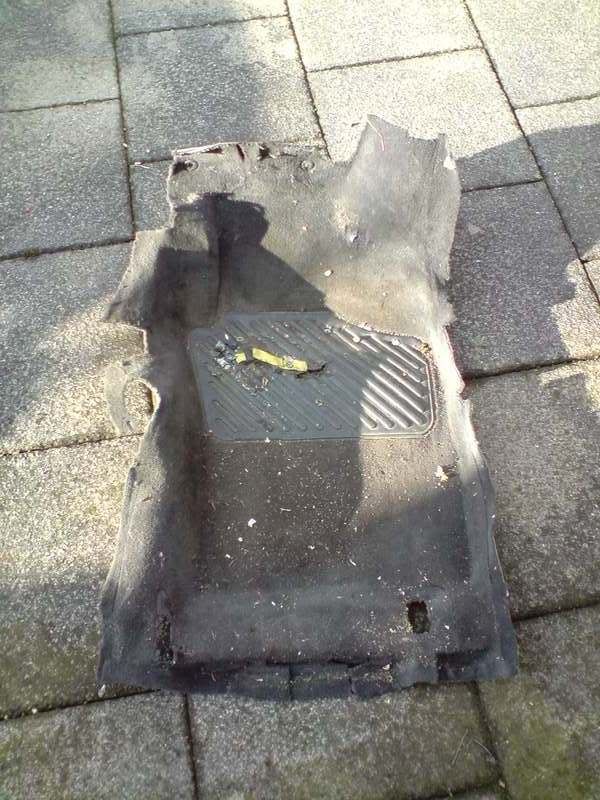
Seeing as my current carpet was in a right state on the drivers side the plan was to get it out and replaced. My replacement arrived the other day so i thought i may aswell get the old one out.
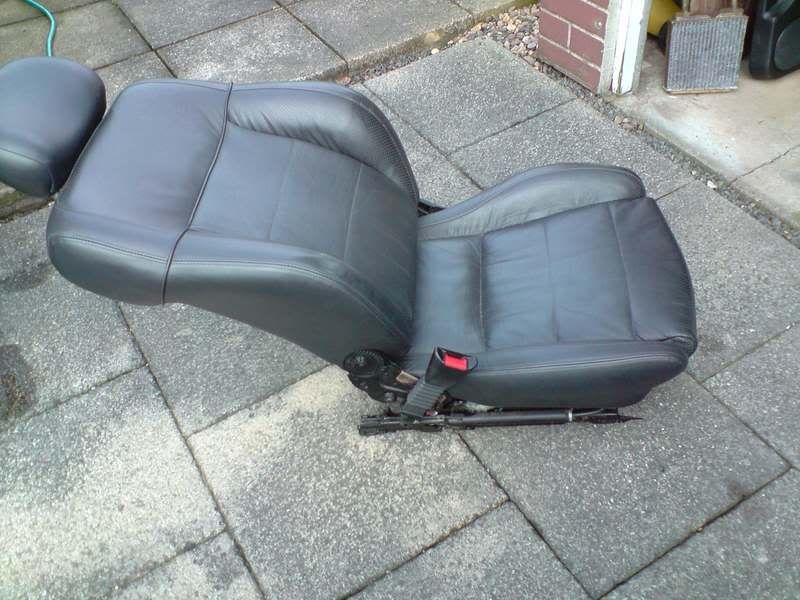
Trim off the drivers seat and pretensioner fork in...
4 bolts later...
This is what greeted me
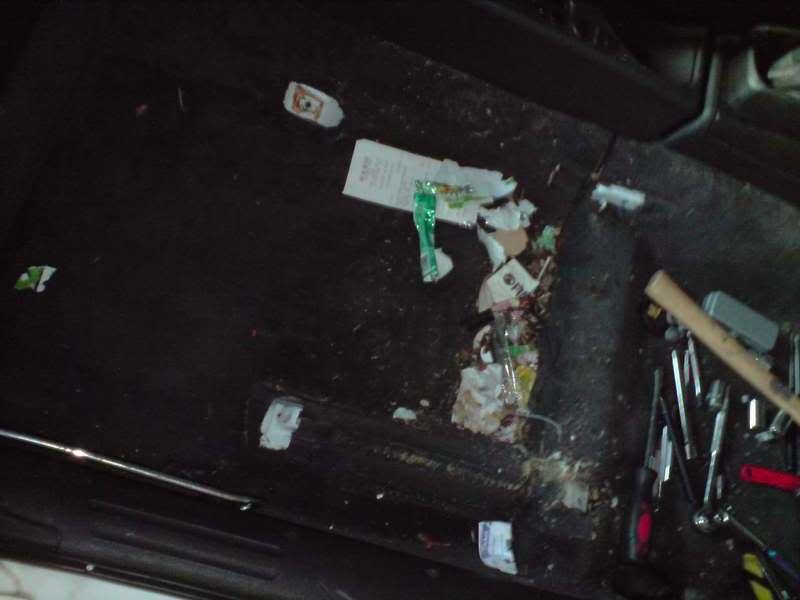
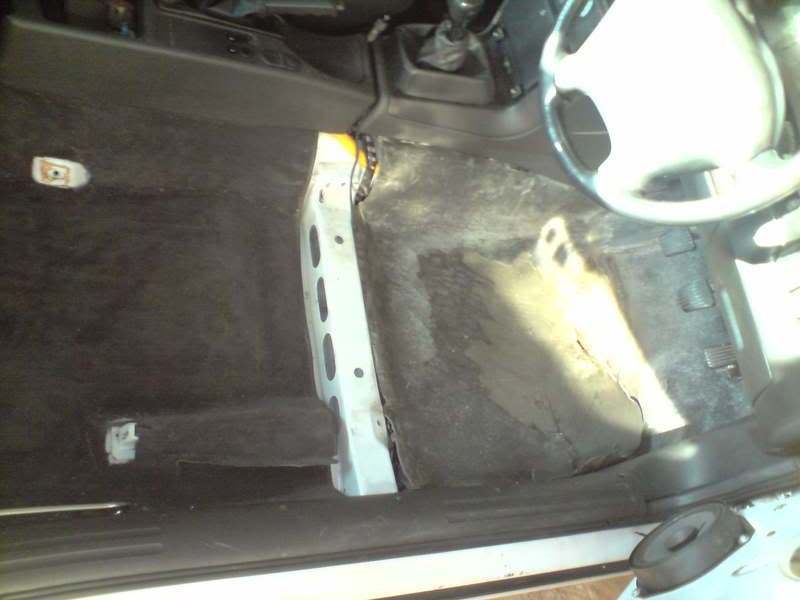
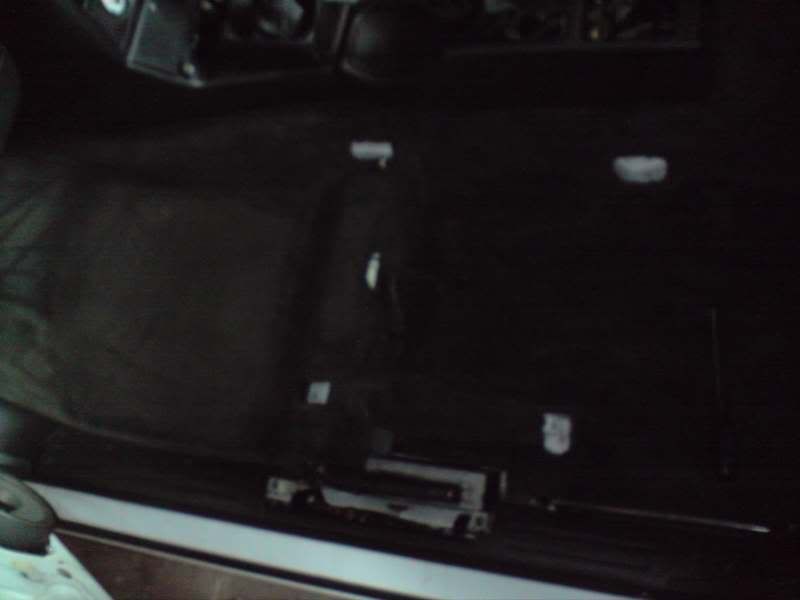
This is the state of the current carpet...
Out she comes...
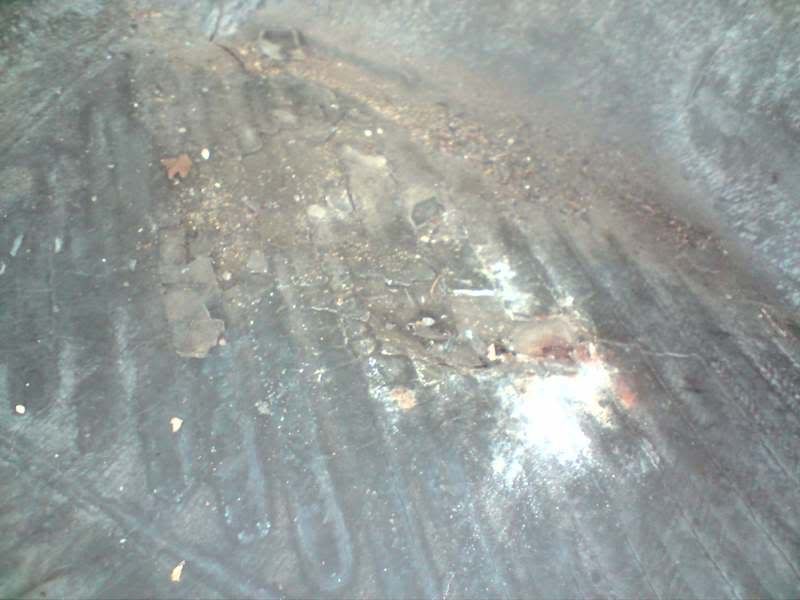
This is the "underlay" below the top carpet. It was soaking wet from the old heater matrix leaking and needs to be dried out so I have prised it up. I may have to take out the entire undercarpet to get it back into the warm. Does anyone know if it goes all the way through to the passenger side? I may end up taking that side out too
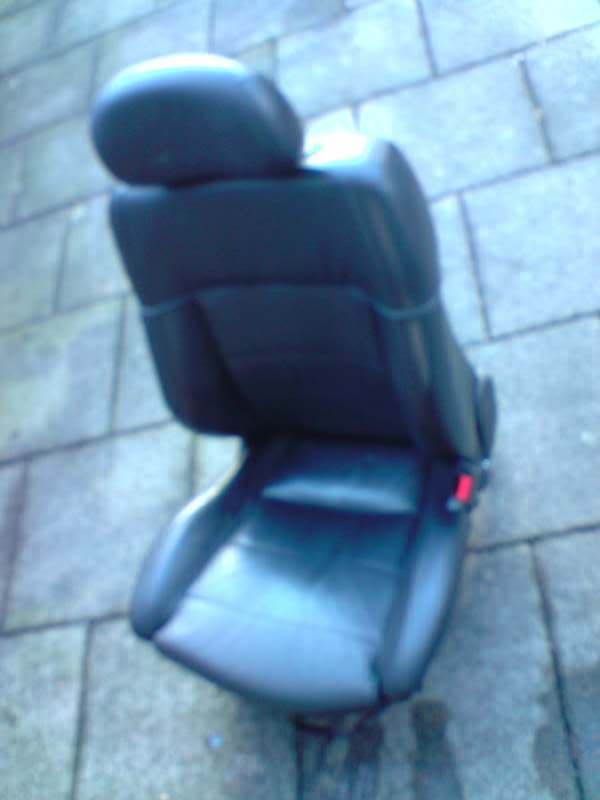
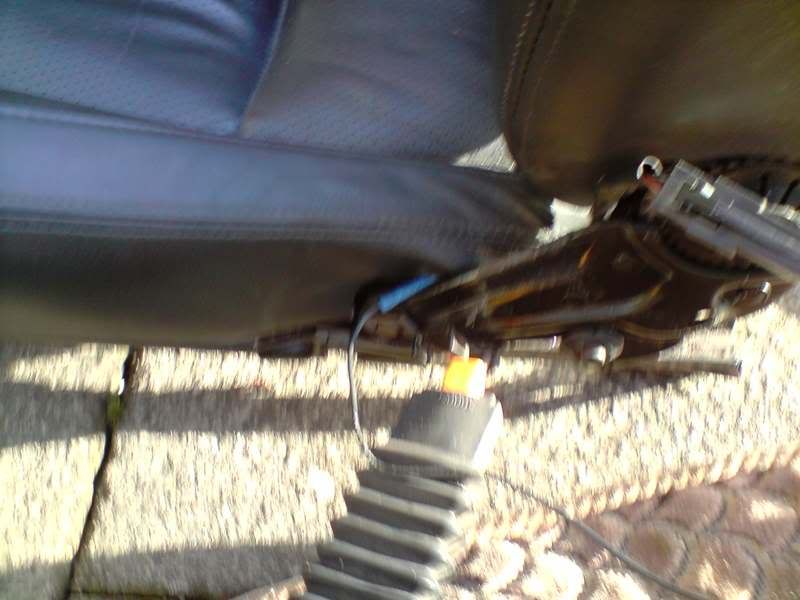
Looking at the drivers seat I found out why the seat heater wasn't working...
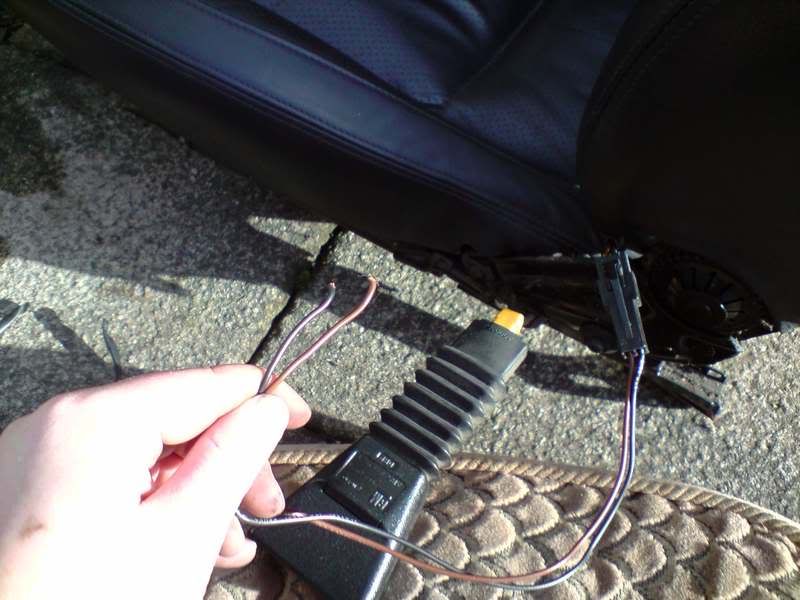
The other end of the wire was very tight and I had barely any room to work in!
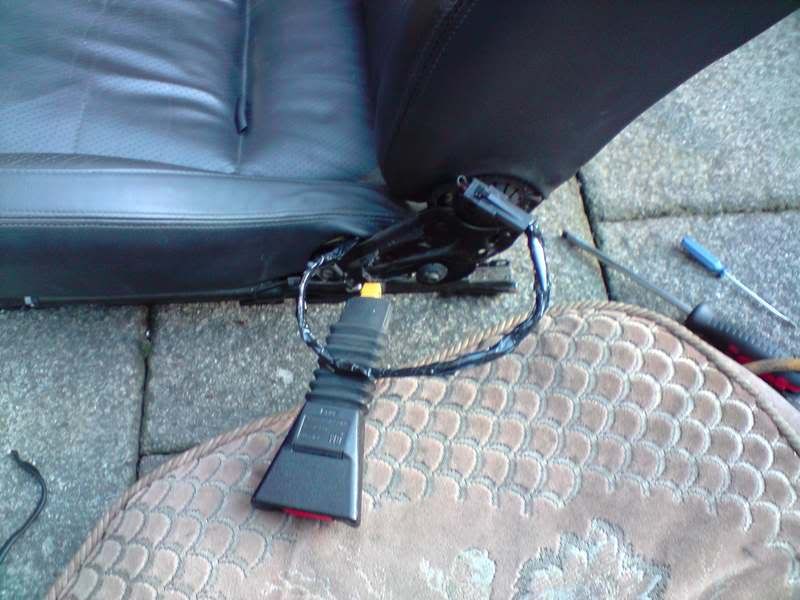
One connection made...
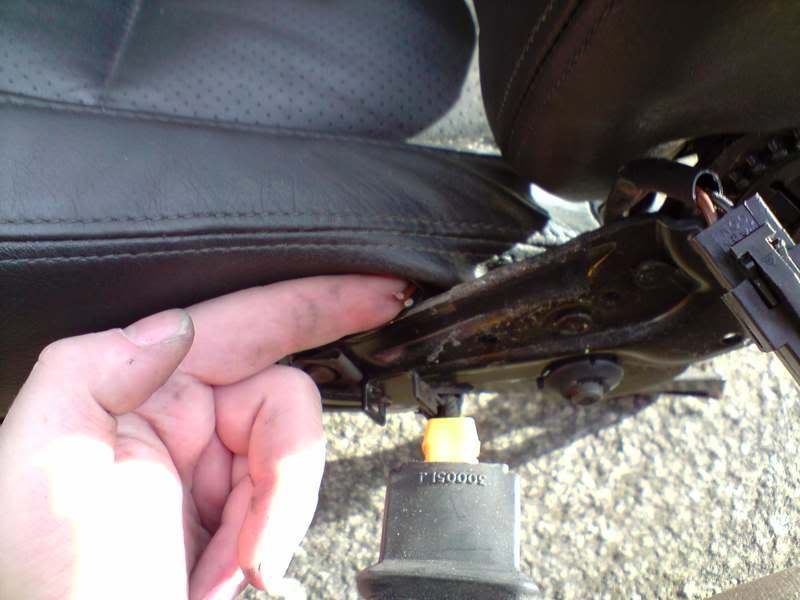
And the second all taped up...
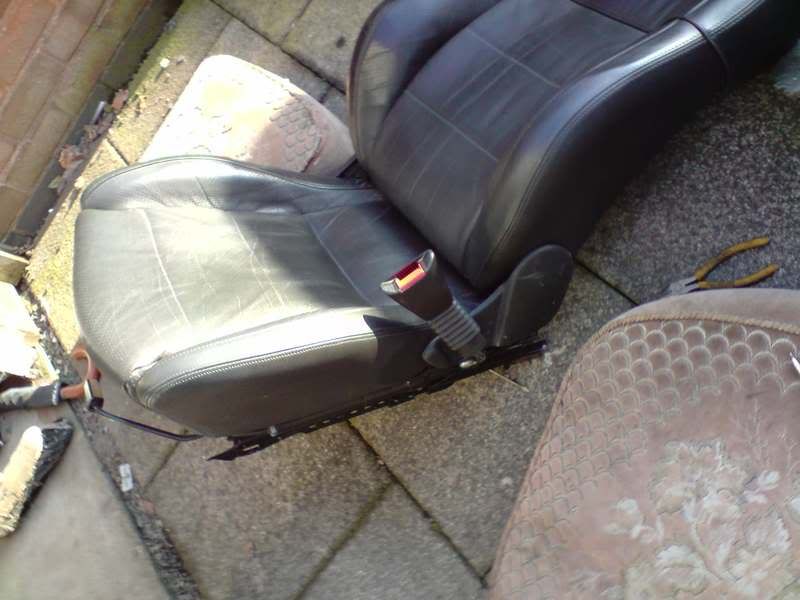
Seatbelt reconnected and trim reattached...
A little hoovering up....
A little more work to do with the the carpet etc but should be mint when done
Bill
started off by bleeding the coolant system and left that to cool down once done (not tested the matrix yet).
Seeing as my current carpet was in a right state on the drivers side the plan was to get it out and replaced. My replacement arrived the other day so i thought i may aswell get the old one out.
Trim off the drivers seat and pretensioner fork in...
4 bolts later...
This is what greeted me
This is the state of the current carpet...
Out she comes...
This is the "underlay" below the top carpet. It was soaking wet from the old heater matrix leaking and needs to be dried out so I have prised it up. I may have to take out the entire undercarpet to get it back into the warm. Does anyone know if it goes all the way through to the passenger side? I may end up taking that side out too
Looking at the drivers seat I found out why the seat heater wasn't working...
The other end of the wire was very tight and I had barely any room to work in!
One connection made...
And the second all taped up...
Seatbelt reconnected and trim reattached...
A little hoovering up....
A little more work to do with the the carpet etc but should be mint when done
Bill
-
fraggie
Re: The overall plan
only a little bit more done today...
recieved my new carpet (very happy with it!)
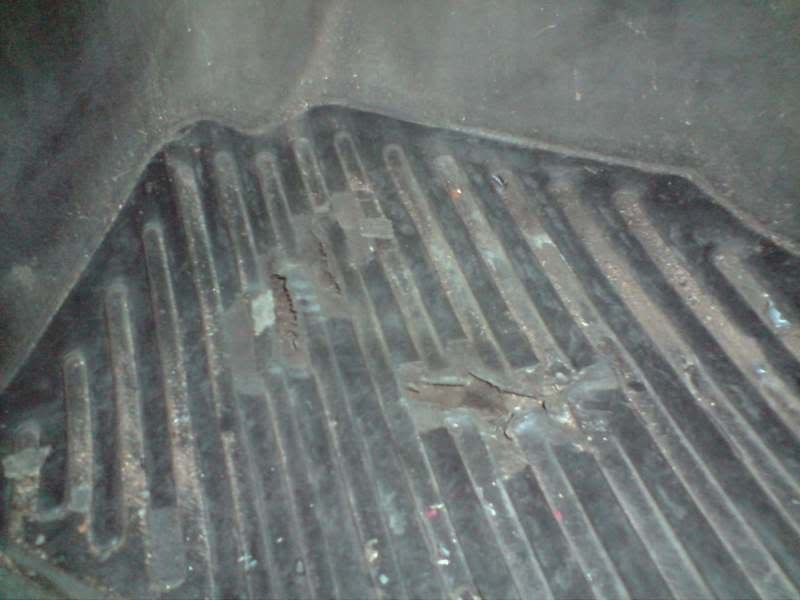
seeing as the drivers side was so wet i decided to check on the passenger side so out with the passenger seat...
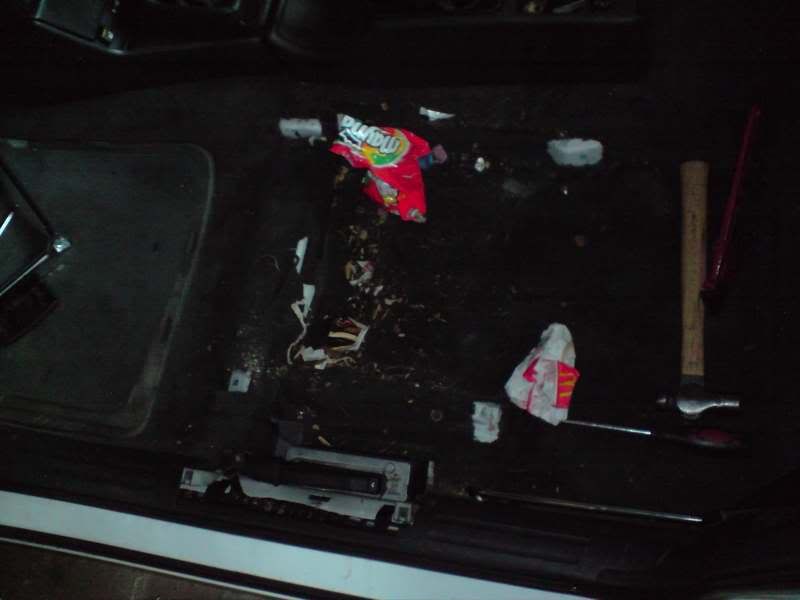
bit of a mess :p
the passenger side was actually dry so i put the carpet back and just gave it a damned good clean...
i think tomorrow will be spent removing the drivers side underlay so it can properly dry off
Bill
recieved my new carpet (very happy with it!)
seeing as the drivers side was so wet i decided to check on the passenger side so out with the passenger seat...
bit of a mess :p
the passenger side was actually dry so i put the carpet back and just gave it a damned good clean...
i think tomorrow will be spent removing the drivers side underlay so it can properly dry off
Bill
-
fraggie
Re: The overall plan
right well a long day at it today so im now aching and ready to get back to work for a rest :p
i started to remove the ecu cover to get the underlay out of the drivers side...
i was then told that my mrs had picked up a delivery for me, but whilst she was at the stables and i didn't have the key to her car where it was hidden! (brown envelope!)
so back i get to the carpet, and after a bit of cutting with my new stanley knife...
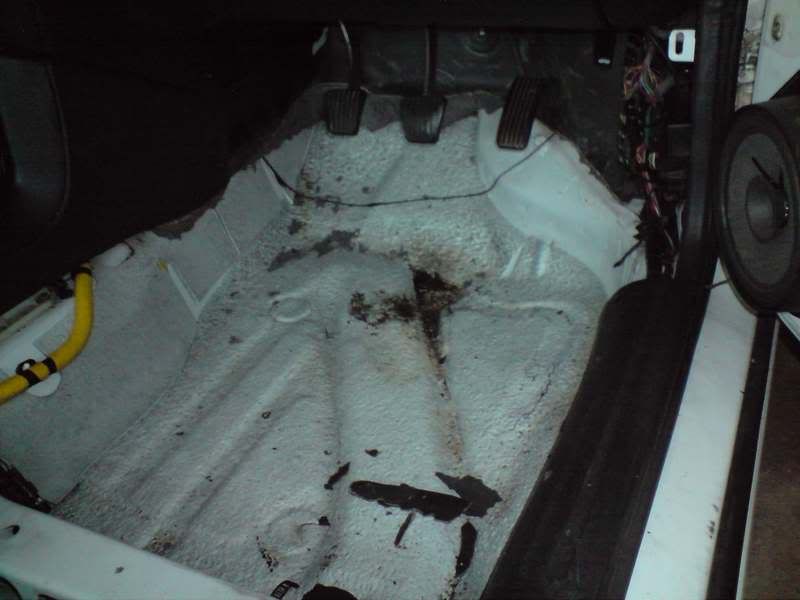
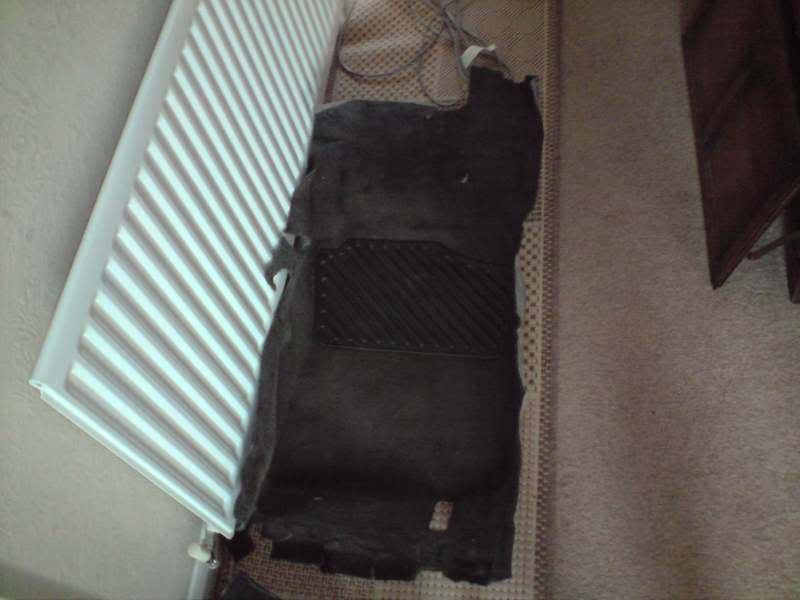
now it can properly dry, the underlay is in the house under the radiator
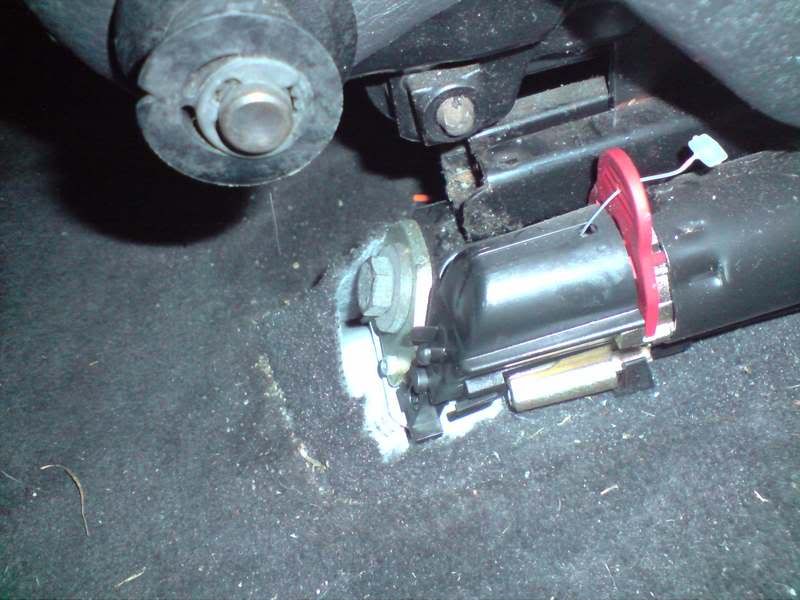
seeing as the delivery was highly likely to be the new barrel i got the ignition switch back into place ready...
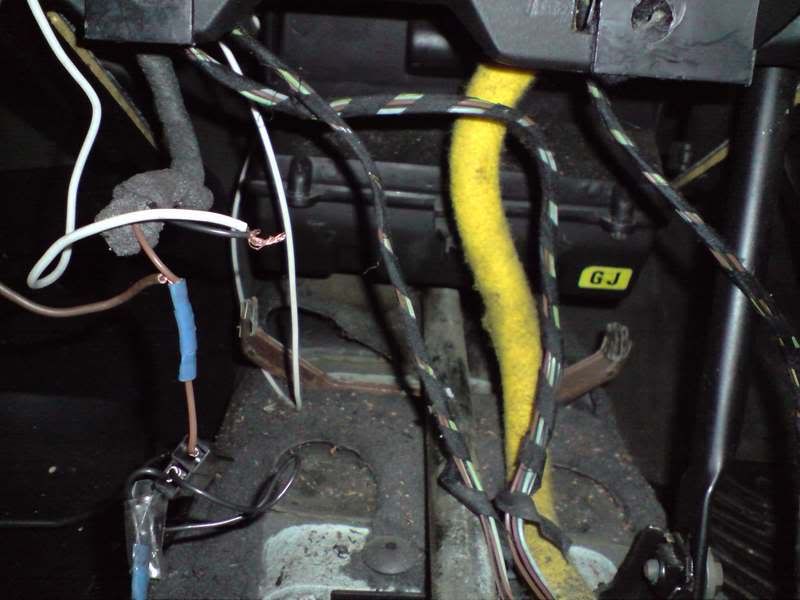
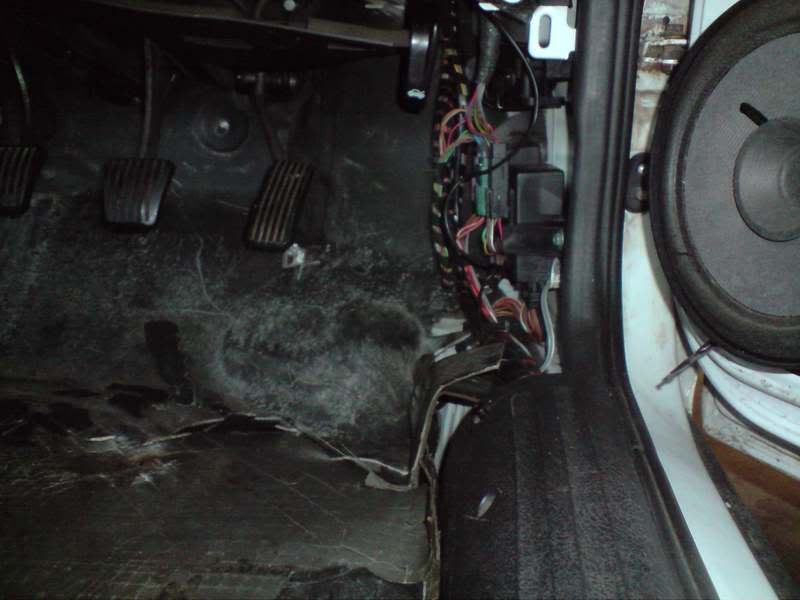
and rewired the guages (no signal before)
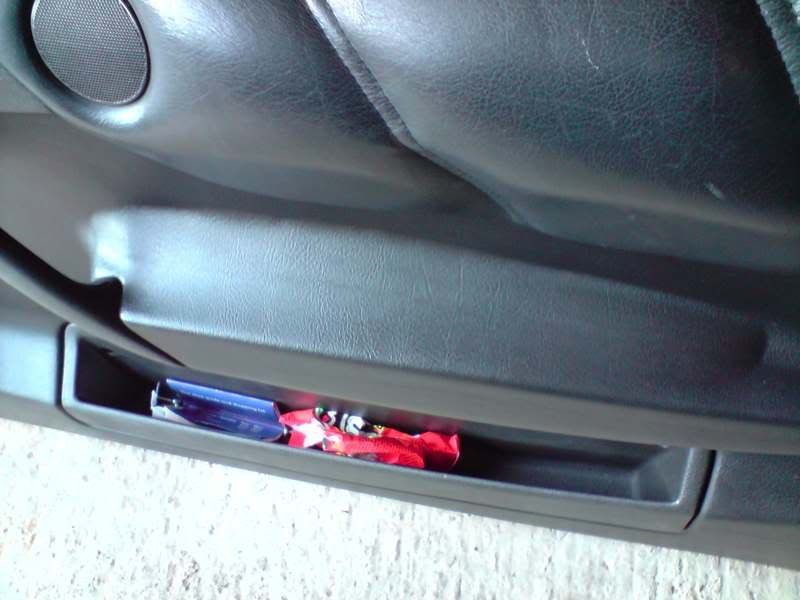
i also found my rear ashtray had snapped anybody with a spare one for a few reddies will be welcomed with open arms
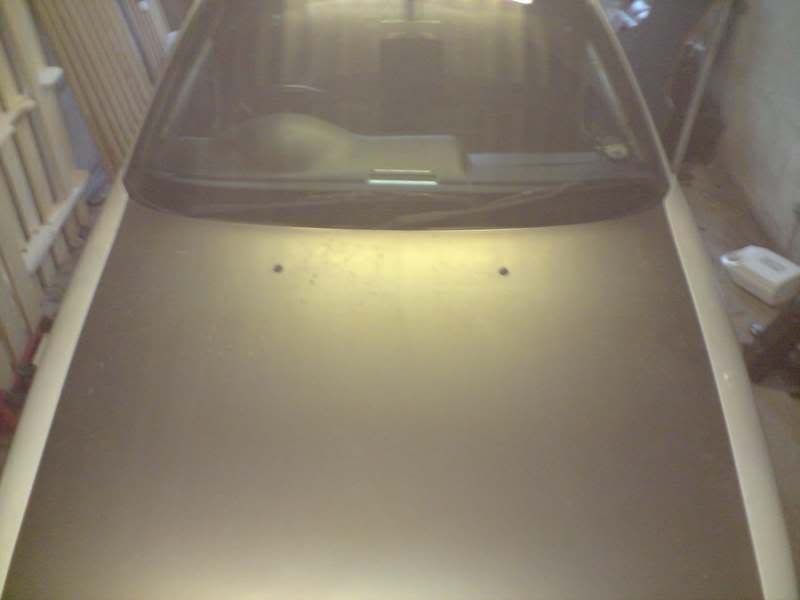
with little more to do inside of the car until the carpet is dry or the new cowling arrives, off i go to replace the bonnet with the new one (ready for the respray).
I looked under the scuttle panel and there doesn't seem to be a pollen filter was it fitted to all calibras?

Anyway! Out with the washer jets...

out with the hinge bolts...
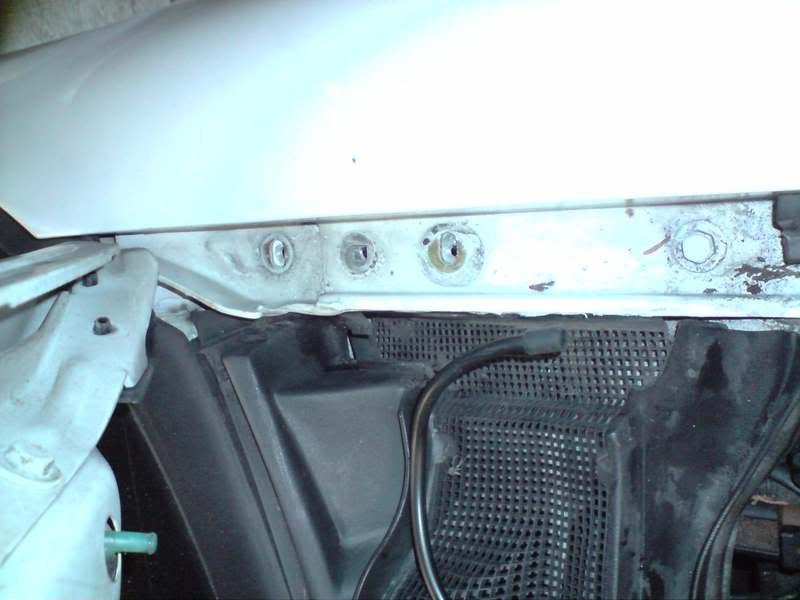
bonnetless car
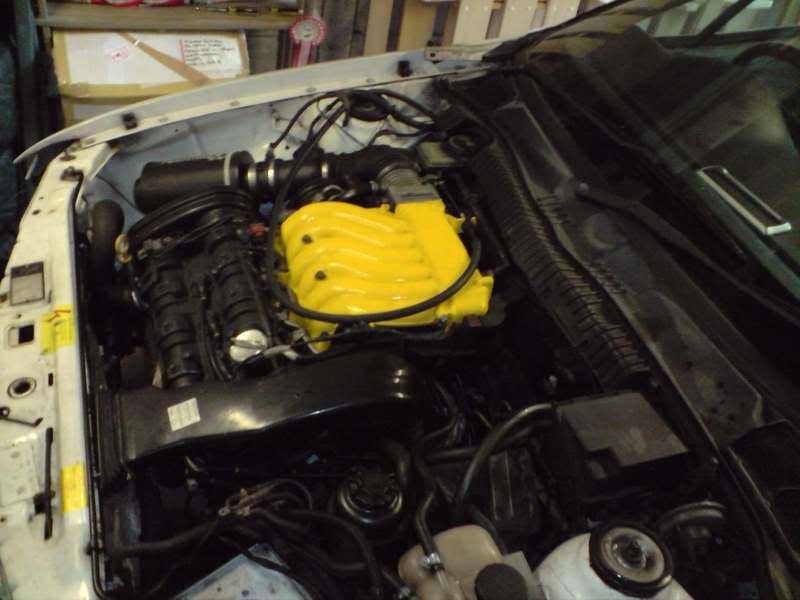
I got the new bonnet on with the help of my neighbour and set about adjusting it. Unfortunately after closing the bonnet it wouldn't re-open! After about an hours worth of trying to get it open with screwdrivers etc I gave up until the mrs got home. When she finally got back I got my delivery...
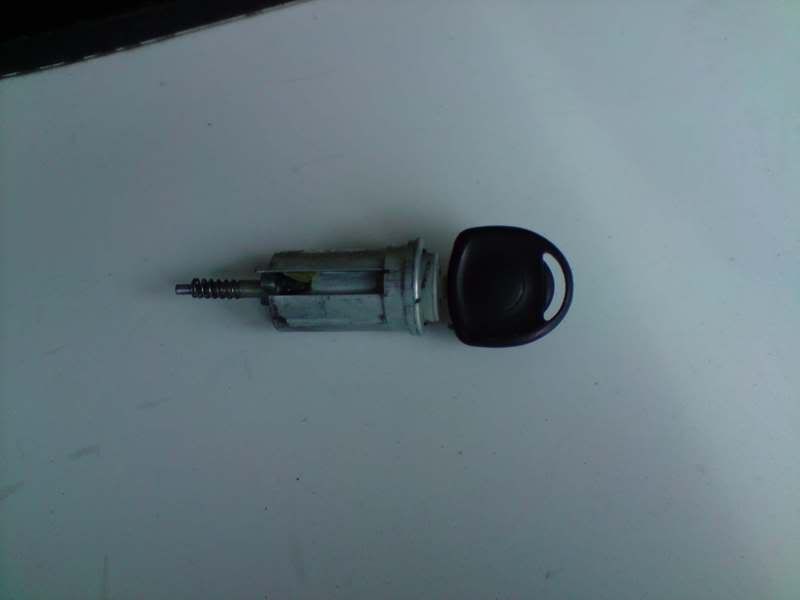
And got it installed in a few seconds...
Anyway I finally got the bonnet open with much persuasion and adjusted the pin and now it opens fine
after much more adjusting the best I could get the bonnet is like this...
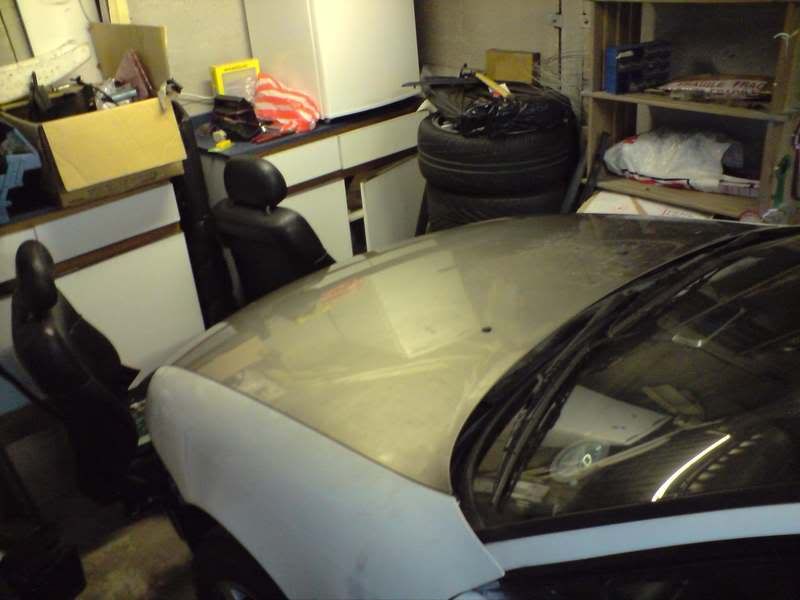
Still more to do before the kit goes on and the respray but the list has been drastically shortened now
Should get it done in the next couple of weeks and then off it goes
Bill
i started to remove the ecu cover to get the underlay out of the drivers side...
i was then told that my mrs had picked up a delivery for me, but whilst she was at the stables and i didn't have the key to her car where it was hidden! (brown envelope!)
so back i get to the carpet, and after a bit of cutting with my new stanley knife...
now it can properly dry, the underlay is in the house under the radiator
seeing as the delivery was highly likely to be the new barrel i got the ignition switch back into place ready...
and rewired the guages (no signal before)
i also found my rear ashtray had snapped
with little more to do inside of the car until the carpet is dry or the new cowling arrives, off i go to replace the bonnet with the new one (ready for the respray).
I looked under the scuttle panel and there doesn't seem to be a pollen filter
Anyway! Out with the washer jets...
out with the hinge bolts...
bonnetless car
I got the new bonnet on with the help of my neighbour and set about adjusting it. Unfortunately after closing the bonnet it wouldn't re-open! After about an hours worth of trying to get it open with screwdrivers etc I gave up until the mrs got home. When she finally got back I got my delivery...
And got it installed in a few seconds...
Anyway I finally got the bonnet open with much persuasion and adjusted the pin and now it opens fine
after much more adjusting the best I could get the bonnet is like this...
Still more to do before the kit goes on and the respray but the list has been drastically shortened now
Should get it done in the next couple of weeks and then off it goes
Bill
-
fraggie
Re: The overall plan
this is a good thread Bill very informative i was one of the doubters bud i thought you would need a whole new centre aluminium section WRONG 
-
vinny_69
Who is online
Users browsing this forum: No registered users and 11 guests